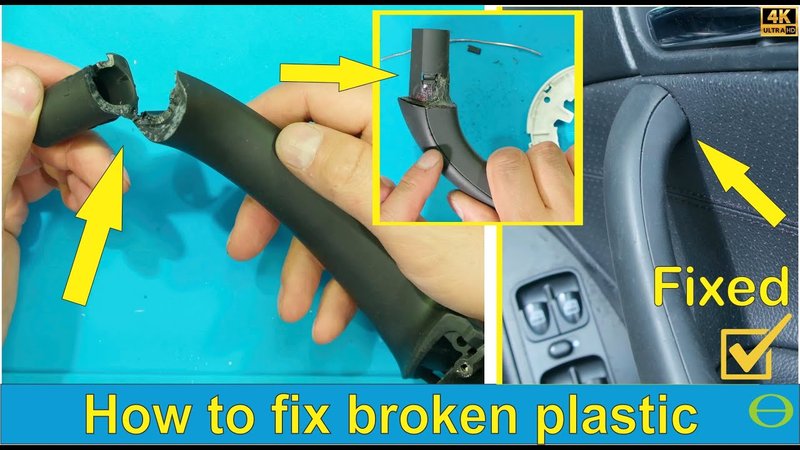
Before diving into the nitty-gritty of repairs, it’s important to recognize the common types of privacy latches found in homes. Many brand names, like Kwikset and Schlage, use durable plastic components that can break over time. If you’re not familiar with these parts, don’t worry. We’ll walk through everything from identifying the problem to successfully fixing it. Grab your tools, and let’s get started!
Understanding the Privacy Latch Mechanism
To tackle the repair, it helps to know how privacy latches work. Picture a latch as a simple mechanism that keeps a door securely closed while allowing for easy access when needed. Typically, these latches consist of two main parts: the latch itself, which retracts and locks into place, and the plastic component, which often holds everything together. When that plastic part breaks, the entire mechanism can fail, leading to a door that won’t latch properly.
When you turn the knob, it activates the latch mechanism, moving the plastic component to engage or disengage the latch. Without a functional plastic piece, the door might remain ajar, leaving your privacy in jeopardy. This is why addressing a broken plastic component is essential—it ensures your latch functions reliably and keeps unwanted intrusions at bay.
Identifying the Broken Component
Before you can fix anything, you need to identify what’s broken. Start by inspecting your privacy latch closely. Usually, if it’s broken, you’ll see obvious cracks or pieces missing from the plastic parts. Often, the issue is with the latch itself or the cam mechanism that the plastic component is attached to.
Don’t forget to check how the latch moves. If it feels stuck or doesn’t retract fully, the plastic component could be hindering its movement. Check for any debris or buildup that might be causing issues as well. Remember, you’re looking for anything that might disrupt the smooth operation of the latch.
Gathering the Necessary Tools
Now that you’ve identified the problem, it’s time to gather your tools. You don’t need a whole workshop for this repair, but having the right items on hand can make the process go a lot smoother. Here’s a quick list of what you might need:
- Flathead and Phillips screwdrivers
- Replacement plastic component (if needed)
- Plastic adhesive or super glue
- Utility knife (for trimming if necessary)
- Tape measure (for ensuring the right fit)
You might be wondering, “Where do I get a replacement component?” Many hardware stores stock common parts, or you can find them online. Just be sure to have your privacy latch brand and model handy so you can order the correct part.
Removing the Broken Component
With your tools ready, let’s get to work. The first step is removing the broken plastic component. Use your screwdriver to remove any screws holding the latch in place. It’s typically just a few screws, but keep them in a safe spot—you’ll need them later.
Once the screws are out, gently pull the latch mechanism away from the door. You might need to wiggle it a bit to free it. If the plastic component is still attached to the latch, carefully detach it. Depending on the damage, you may need to cut away any broken pieces with your utility knife.
Repairing or Replacing the Component
Now you have two options: repairing the existing plastic component or replacing it altogether. If you choose to repair it, clean the broken edges and apply a strong plastic adhesive. Hold the pieces together for a minute or two until it sets. It’s important to let it cure for the recommended time specified on the adhesive package, usually 24 hours, before reassembling.
If the damage is beyond repair, don’t fret! Simply grab the replacement plastic component you sourced earlier. Fit it into place, ensuring it aligns with the latch mechanism, and secure it with screws.
Reassembling the Privacy Latch
Once your component is repaired or replaced, it’s time to put everything back together. Line up the latch mechanism with the holes in the door and fasten it with the screws you set aside. Make sure everything is snug, but don’t overtighten, as that can cause other components to break.
After that, test the latch. It should move smoothly and engage properly. If it’s sticking, double-check the alignment and make any necessary adjustments. Remember, a well-functioning latch is all about smooth operation!
Testing the Repair
Before you declare victory, you should test the latch multiple times to ensure it functions correctly. Open and close the door several times, making sure that the latch engages and disengages as it should.
You might be surprised at how satisfying it is to hear that click when the latch catches properly! If it’s still giving you trouble, you might need to revisit your work; sometimes a simple misalignment is all it takes to throw the whole thing off.
Maintaining Your Privacy Latch
After all that effort, it’s a good idea to keep your privacy latch in good condition. Regularly check for any signs of wear, and clean any debris that might gather around the latch. You can also apply a little lubricant to the moving parts to ensure they glide smoothly.
Maintaining your latch not only prolongs its lifespan but also saves you from future headaches. A well-cared-for latch can serve you reliably for years, giving you peace of mind every time you close that bathroom door.
In conclusion, repairing a broken plastic component in a privacy latch is not just about fixing a door; it’s about restoring your personal space. With the right tools and a little patience, you can handle this repair like a pro! Whether you repaired or replaced the component, you’ve taken steps to ensure your privacy latch works as it should. So the next time you need a little alone time, you can trust that your door will stay shut. Happy DIYing!
