Repairing the scratches on interior door hardware isn’t as daunting as it sounds. With a few simple steps and some common materials, you can restore that hardware to its former glory. It’s like giving your door a mini spa day, refreshing its look and ensuring it continues to function well. In this guide, we’ll walk through the process together, making it easy and approachable for anyone, regardless of their DIY experience.
Assessing the Damage
Before diving into repairs, take a moment to truly examine the scratch. Is it a light surface scratch or a deeper gouge? This step is crucial because the method you choose to repair it depends on the severity of the damage.
For light scratches, you can often use simple polishing techniques or cleaners. However, if the scratch is deeper, you might need to consider sanding or even replacing parts. Honestly, you wouldn’t want to use a heavy-duty solution on a minor blemish, as it might cause more harm than good.
To assess the damage effectively, look at the following:
- Identify if it’s only the finish that’s scratched or if the metal itself is damaged.
- Check if the scratch is visible from a distance or only upon close inspection.
- Observe if there are any areas of rust or discoloration around the scratch, indicating more extensive damage.
Once you understand the depth of the scratch, you can move forward with the right repair method.
Gathering Your Supplies
Now that you’ve assessed the damage, it’s time to gather your supplies. You’ll need a few basic items, many of which you might already have at home:
- Fine sandpaper (for deeper scratches)
- Metal polish
- A soft cloth or microfiber towel
- Clear lacquer or touch-up paint (if needed)
- Protective gloves (to keep your hands clean)
Here’s the thing: quality matters when it comes to your materials. While a standard polish might do the trick, investing in a good quality metal polish can result in a more polished finish. Plus, it can help protect against future scratches and tarnishing.
When you have everything ready, you’re set to bring some life back to that hardware!
Repairing Light Scratches
For light scratches, you won’t need to go through a lengthy process. This is more of a quick touch-up job. Start by applying a small amount of metal polish to a soft cloth. Here’s how you do it:
1. Apply the Polish: Dab a small amount of polish onto the cloth.
2. Buff the Scratch: Gently rub the cloth over the scratch in a circular motion. This helps blend the scratch with the surrounding area.
3. Wipe Away Excess: Once you see improvement, use a clean part of the cloth to wipe away any residue.
You might be wondering how to tell if that scratch is gone. The best indicator is usually how it looks in different lighting. Minor scratches often vanish when polished correctly, leaving your hardware looking fresh and shiny.
Dealing with Deeper Scratches
If your scratch is deeper, you’ll need to take more comprehensive steps to repair it. Start with fine sandpaper. But don’t worry—you don’t need to sand like a pro. Here’s how:
1. Wet the Sandpaper: Dampen the sandpaper lightly; this helps reduce friction and minimizes metal removal.
2. Sand the Area: Gently sand the scratched area in the direction of the grain. Remember to stay patient; you’re aiming to smooth the area, not remove too much material.
3. Clean Up: Wipe away any debris created by sanding.
After sanding, follow up with metal polish, repeating the buffing process. If the scratch still seems rough, you may need to apply a clear lacquer or touch-up paint to protect the surface and help it blend in.
Finishing Touches
Once you’ve repaired the scratch, it’s time to give your door hardware a little extra love. Applying a protective layer can help maintain that fresh look. Here’s what to do:
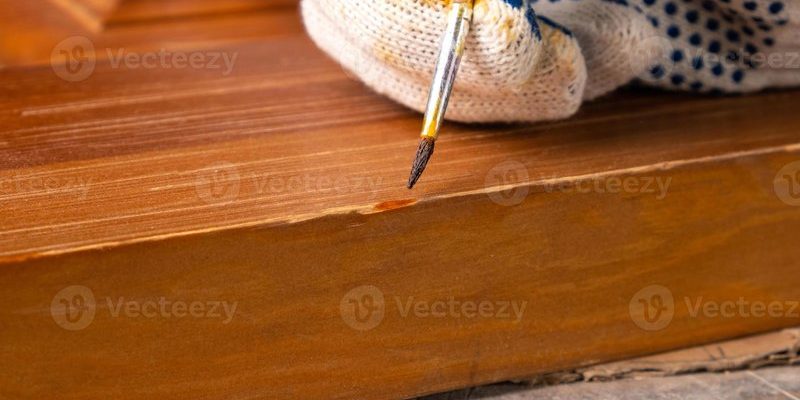
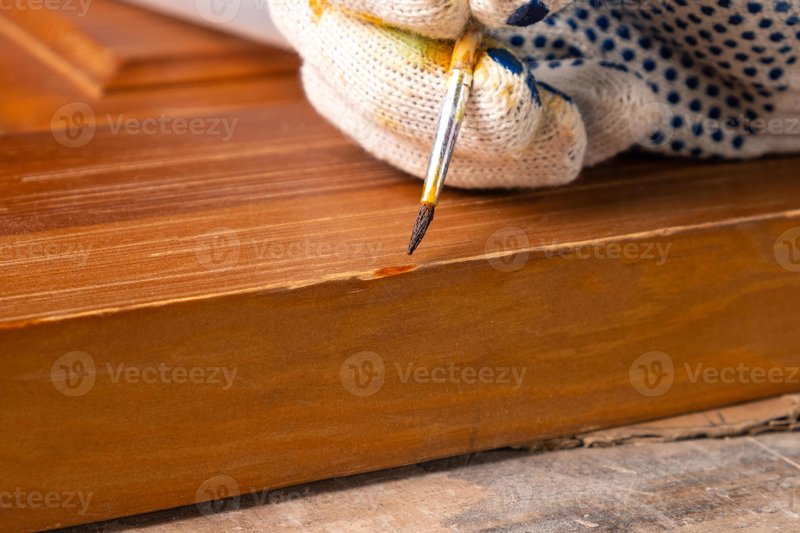
1. Apply Clear Lacquer: Using a clean brush, apply a thin layer of clear lacquer over the repaired area. This will protect it from future scratches and moisture.
2. Let it Dry: Allow the lacquer to dry fully, following the manufacturer’s instructions. This step is crucial as it ensures durability.
3. Regular Maintenance: To keep your hardware looking its best, regularly clean it with a soft cloth and metal polish.
Looking after your door hardware doesn’t just enhance its appearance; it also extends its lifespan. A little care goes a long way!
Common Mistakes to Avoid
As you embark on your repair journey, there are some common pitfalls to keep in mind. Avoiding these mistakes can save you time and effort:
- Using Too Much Force: Whether sanding or polishing, applying too much pressure can worsen the scratch instead of helping it.
- Ignoring the Finish: If your door hardware has a specific finish, use products designed for that material to avoid discoloration.
- Skipping Protection: Always finish with a protective layer to shield your repair from future damage.
We’ve all been there, and it’s easy to rush when you’re excited about fixing something. Just remember to take your time and be gentle.
When to Consider Replacement
Sometimes, despite your best efforts, a scratch or damage can be too extensive for a simple fix. If you find that the hardware is not just scratched but also bent or corroded, it may be time to consider replacement. Here are a few signs to look for:
– Severe Damage: If the scratch is accompanied by dents or rust, replacement might be more cost-effective in the long run.
– Functional Issues: If the door doesn’t close properly or the hardware feels loose, it’s a sign that your repaired hardware might not hold up to daily use.
– Aesthetic Concerns: Sometimes, it’s just about the look. If the hardware looks too worn out even after repairs, a fresh piece might be the best choice.
Replacing hardware doesn’t have to be complicated. Most home improvement stores have a wide selection to choose from. Plus, installing new hardware can give your door a fresh start!
Repairing interior door hardware that’s been scratched by a ring can be a straightforward process if you take it step by step. By assessing the damage, gathering the right supplies, and using the appropriate techniques, you can restore your hardware and preserve the beauty of your home.
Remember that whether it’s light scratches or deeper marks, there’s always a way to bring things back to life. With a little time and patience, you’ll be proud of the results. Just think of it as a small DIY project that not only enhances your space but also boosts your confidence. Happy repairing!