Repairing the hardware on a cut-down door isn’t as tricky as it sounds. Whether you’re dealing with hinges, locks, or knobs, the process is about making adjustments. You’ll find clarity in knowing which tools to use and how to go about fixing each part. If you’ve got an old hardware set from a trusted brand, like Kwikset or Schlage, and it’s feeling a bit off, follow along. Let’s dive into this straightforward, step-by-step process.
Assessing the State of Your Door Hardware
Before diving into repairs, take a moment to assess the hardware. Is the door sticking? Do the hinges squeak? Are the locks misaligned? Start by checking if the main components are functioning properly. Here’s what to look for:
- Hinges: Ensure they’re attached firmly to both the door and the frame. If they’re wobbly, it could be a simple fix.
- Knobs and Locks: Check if they turn smoothly. Misalignment here can indicate that the placement needs adjustment.
- Strike Plates: Confirm that the strike plates line up perfectly with the locks. Any misalignment can lead to frustration.
Once you’ve identified the problem areas, you can prioritize which parts need the most attention. This assessment will serve as your roadmap for repairs.
Gathering Necessary Tools
Before you roll up your sleeves, make sure you have the right tools on hand. Having everything ready not only speeds up the process but also makes it much easier. Here’s a quick list of what you’ll need:
- Screwdriver: A standard or Phillips screwdriver, depending on your door hardware.
- Drill: For making new pilot holes if necessary.
- Wood filler: To mend any wood damage caused by the previous hardware placement.
- Measuring tape: To ensure everything is measured accurately, especially for placement of new hardware.
Think of these tools as your trusty sidekicks in this repair adventure. Without them, you might find yourself stuck halfway through the process.
Adjusting Hinges for Proper Alignment
If your door isn’t closing properly, the hinges are often the culprit. Here’s how to adjust them:
1. Loosen the Screws: Use your screwdriver to slightly loosen the screws on the hinge. You don’t need to remove them completely.
2. Adjust the Hinge Position: If the door is sagging, raise it by shifting the hinge upward. For doors that stick at the top, you might want to lower the hinge slightly.
3. Tighten the Screws: Once everything is in place and the door swings smoothly, tighten the screws back up securely.
Remember, a little adjustment can make a huge difference. Honestly, this step can often fix 90% of the issues with door operation.
Repairing or Replacing Door Knobs and Locks
After sorting out the hinges, you might find that the knobs or locks also need some attention. Misaligned locks make it impossible to secure a door, which is a pretty crucial function! Here’s what to do:
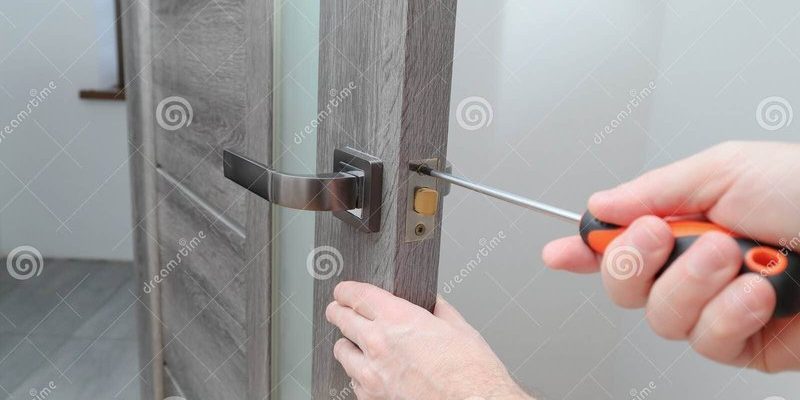
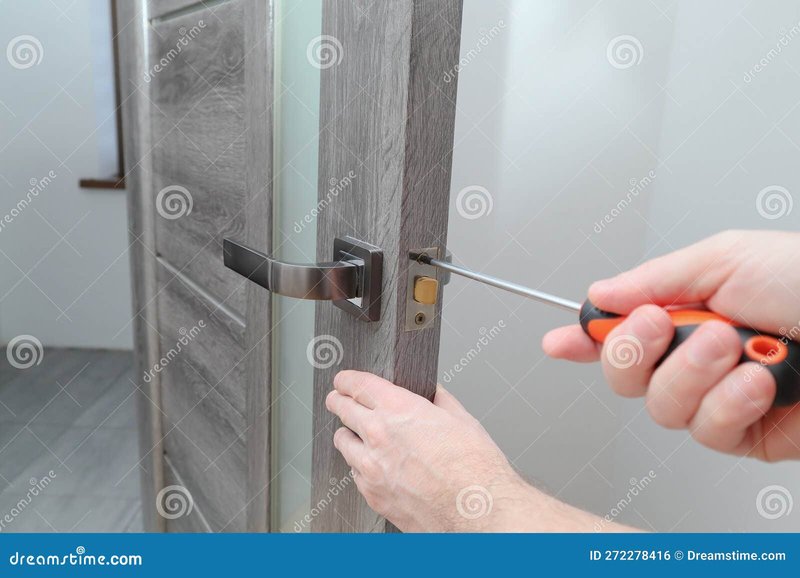
1. Remove the Hardware: Unscrew the knobs or locks from the door. This usually involves taking out a couple of screws on either side.
2. Check Alignment: With the hardware removed, check if the holes are still correctly placed. If they’re not, you might need to drill new holes to reposition them.
3. Install New Hardware (if needed): If the existing locks or knobs are worn out, replace them with new ones. Remember to follow the manufacturer’s instructions for installation.
It’s like putting on a fresh shirt after spilling coffee all over the old one—sometimes, a little swap can make everything feel new again.
Fixing Strike Plates
Strike plates can often be overlooked during repairs, but they play a critical role in how well your door secures. Here’s how to adjust these:
1. Check Current Alignment: Close the door and see where the bolt meets the strike plate. If it’s misaligned, you’ll need to make adjustments.
2. Loosen and Shift: Loosen the screws on the strike plate, and carefully shift it to line up with the bolt properly.
3. Tighten the Screws: Once it’s aligned, tighten everything back down, and test the door again.
This step is like fine-tuning your favorite recipe; getting it just right can make a world of difference in the final product.
Wood Repair for Damaged Areas
Cutting down a door can sometimes cause unexpected damage, especially if the previous hardware left noticeable marks or holes. Here’s how to handle those pesky blemishes:
1. Clean the Area: Start by cleaning the area around the damaged spot to ensure the filler adheres well.
2. Apply Wood Filler: Using a putty knife, apply wood filler over any holes or scratches. Smooth it out, so it’s level with the rest of the door.
3. Sand and Paint: Once the filler dries, sand it down until it’s smooth. If needed, you can repaint or stain the area to match the rest of the door.
Think of this step as giving your door a touch-up, just like you would with your favorite piece of furniture.
Final Adjustments and Testing
Once you’ve made all the necessary adjustments and repairs, it’s time for the moment of truth. Test the door several times, opening and closing it to see how it functions. Here’s what to check:
– Smooth Operation: The door should open and close without sticking or rubbing.
– Secure Locking: Make sure the lock engages correctly and feels solid.
– No Squeaks: If you hear any squeaking sounds, a little lubricant on the hinges can usually solve that issue.
Doing these final tests is like taking a nice test drive after making repairs on your car. You want to feel confident that everything is working smoothly.
Repairing interior door hardware on a door that’s been cut down doesn’t have to be daunting. With a bit of patience and the right tools, you can tackle it easily. Remember to inspect the hinges, knobs, locks, strike plates, and any damaged areas. Each step brings you closer to a fully functional door that operates seamlessly.
Now you can enjoy your newly adjusted door, feeling a sense of accomplishment that comes with a job well done. Whether it’s just for aesthetics or safety, having well-functioning hardware makes all the difference. So, next time you face door refinishing, you’ll know just what to do!