Re-veneering is like putting a new skin on your door. You’re aiming for aesthetic appeal, but sometimes the components behind the scenes don’t play nice. Think of the hardware—like locks, hinges, and handles—as the engine of your door. If something’s off, it can cause everything else to malfunction. With the right approach, you can ensure that your newly veneered door stays functional and beautiful.
Let’s explore the common hardware issues you might run into after a re-veneering project and how to tackle them effectively.
Identifying Hardware Issues After Re-Veneering
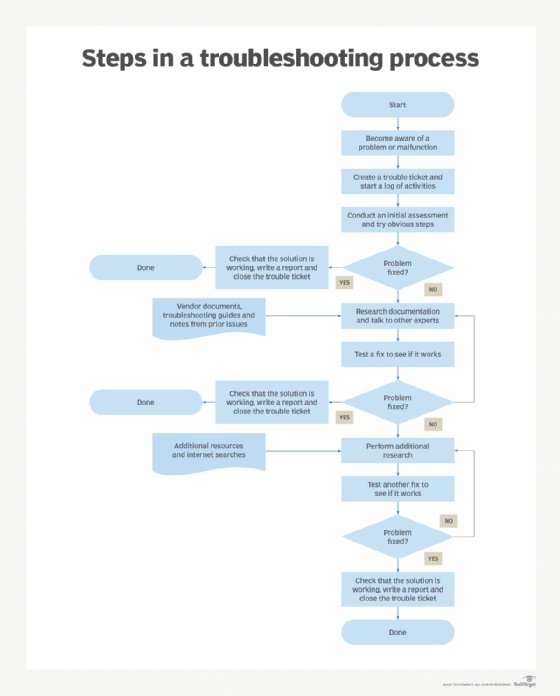
After applying a new veneer, the first step is to check the hardware. It’s not unusual for things to get a little out of whack during the process. Have you noticed that your door doesn’t close properly? Maybe the lock seems a bit stiff or doesn’t align correctly anymore. Here’s how to identify those pesky problems.
1. Check Alignment: First, look at the door’s alignment. Is it sitting correctly within the frame? If it’s off, you might need to loosen the hinges and reposition the door slightly. This adjustment can typically fix issues with sticking or not latching.
2. Inspect the Locks and Handles: Next, pay attention to locks and handles. If the lock doesn’t turn smoothly or the handle feels loose, it could be due to misaligned hardware. A simple tightening of screws or a repositioning of the lock can often solve these issues.
3. Listen for Noises: Lastly, listen for any creaks or pops. These sounds often indicate that something is rubbing against another surface. Identifying the noise can lead you to the source of the problem, helping you decide if adjustments or replacements are necessary.
Adjusting Hinges for Proper Alignment
If your door has become misaligned, adjusting the hinges is often the way to go. Think of the hinges as the backbone of your door. A little tweak here or there can make a world of difference.
1. Tools You’ll Need: Gather a screwdriver, a level (if you have one), and a friend to help hold the door if it’s heavy.
2. Loosen the Screws: Start by slightly loosening the screws on the hinge that’s connected to the door. Don’t remove them completely—just give them a little wiggle.
3. Adjust and Test: Once the screws are loose, gently push or pull the door until it’s aligned properly. Use the level to ensure it’s straight. Tighten the screws back up and check the door’s functionality.
If needed, repeat this process on other hinges until everything aligns perfectly.
Fixing Sticking Locks and Handles
A sticking lock or handle can be frustrating, especially on a newly veneered door. You want that smooth operation, just like the door is gliding open. Here’s how to troubleshoot this issue.
1. Lubricate Moving Parts: Sometimes, a little lubrication can go a long way. Use a graphite lubricant or a silicone spray on the lock and hinges. This can help reduce friction and make the lock easier to operate.
2. Check for Obstructions: Remove the lock and handle if needed to look for any obstructions. Sometimes, the veneer can get caught in the mechanism, preventing it from moving freely.
3. Reinstall Properly: If you had to remove parts, make sure to reinstall them carefully. Ensure everything is seated correctly and tightly secured. A loose handle can cause it to malfunction over time.
Replacing Damaged Hardware
If you’ve identified that some hardware is beyond repair, replacing it might be your best option. Sometimes, old parts simply don’t work well with new veneers.
1. Identify the Right Replacement Parts: Whether it’s a lock, a handle, or hinges, make sure you buy the correct size and type for your door. Stores often provide guidance on matching hardware to your door’s specifications.
2. Remove Old Hardware: Use your screwdriver to carefully take off the damaged parts. Keep all screws and pieces in a safe spot so you don’t lose them.
3. Install New Hardware: Follow the manufacturer’s instructions for the new parts. Sometimes, it’s just a matter of screwing them into place. Don’t forget to test the new parts to ensure they work smoothly.
Maintaining Your Newly Veneered Door
Once you’ve tackled any issues, it’s essential to maintain your newly veneered door properly. After all, you’ve worked hard on making it look great.
1. Regular Inspections: Check your door periodically for alignment and hardware condition. A quick inspection can often catch problems early before they become significant issues.
2. Clean and Care: Keep the door clean by wiping it down with a damp cloth. Use wood-safe cleaners, and avoid harsh chemicals that could damage the veneer.
3. Reapply Finish as Needed: If your door started to lose its sheen, consider reapplying a finish to protect the veneer. This can help maintain its beauty and durability over time.
When to Call a Professional
Sometimes, DIY just isn’t enough. You might be wondering when it’s time to call in a professional.
1. Extensive Damage: If you notice significant damage to the door or hardware, it might be wise to consult an expert. This can save you time and potentially more costly repairs down the line.
2. Complex Hardware Issues: If the locks or hinges are complicated or integrated with smart technology, a professional can ensure everything is properly installed and functioning.
3. Peace of Mind: If you’ve done your best and still can’t seem to get it right, don’t hesitate to reach out for help. Sometimes, having an experienced set of eyes can make all the difference.
In conclusion, troubleshooting hardware on a door that was re-veneer is definitely manageable with a bit of patience and care. By checking for alignment, adjusting hinges, fixing locks and handles, and maintaining your door, you can enjoy the beauty and functionality it brings to your space. Remember to give yourself grace during the process; every door and situation is unique, and with the right approach, you’ll have your door looking and working great in no time!
