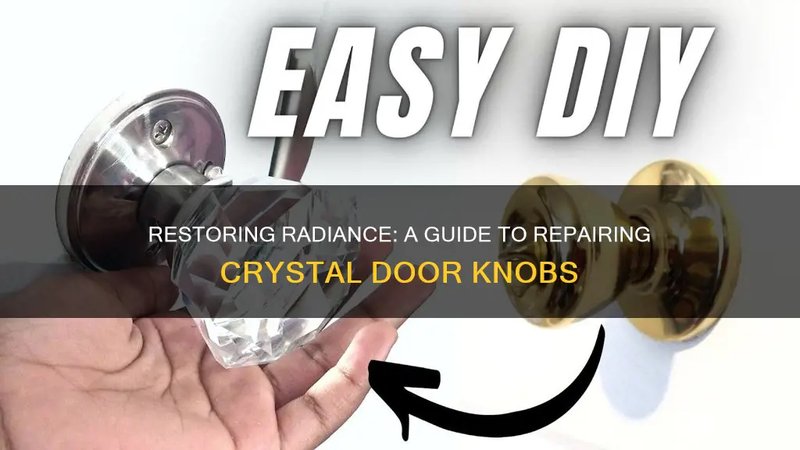
Repairing your door knob might save you from the hassle of searching for a replacement that matches your home’s décor. Plus, it’s an opportunity to hone your DIY skills. Whether you’re dealing with a cherished antique knob or a modern glass fixture, the process is fairly similar. So, let’s dive into how you can tackle this repair like a pro!
Understanding the Problem: Why Do Door Knobs Crack?
You might be wondering how a beautiful glass or crystal knob can crack in the first place. Well, it often comes down to a few common culprits. First, just like any fragile item, glass is susceptible to impacts. A dropped item, a heavy hand, or even temperature changes can lead to cracks.
When we talk about temperature, it’s interesting to note that extreme heat or cold can create stress on glass. If your knob is near a heat source or in a spot that gets too chilly, it may eventually give in to those extremes. Additionally, wear and tear over time can weaken glass, leading to cracks that might seem to appear out of nowhere.
So, before jumping into repairs, it’s essential to know the cause. This way, you can avoid similar issues in the future.
Gathering the Right Tools and Materials
To repair your cracked glass or crystal door knob effectively, you’ll need the right tools. Think of this as your DIY toolkit—having everything in one place makes the job smoother. Here’s a simple list to get you started:
- Epoxy glue: This will bond the cracked pieces together securely.
- Clear nail polish: A quick fix for small cracks to prevent further damage.
- Microfiber cloth: For cleaning the knob before and after repair.
- Sandpaper: Fine-grit paper will help smooth out rough edges.
- Screwdriver: If you need to remove the knob from the door.
Before you begin, gather these items. Having everything at your fingertips makes the repair process much more enjoyable and efficient.
Step-by-Step Repair Process
Ready to dive into the repair? Here’s a straightforward guide to help you through the process step-by-step.
Removing the Door Knob
Before you can repair the crack, you need to remove the door knob. Most knobs have screws on the back or side. Here’s how to do it:
1. Locate the screws: Use your screwdriver to find and remove them. Make sure to keep them in a safe place so you don’t lose them.
2. Take off the knob: Gently pull it away from the door. If it’s stuck, wiggling it slightly can help.
3. Clean the knob: Use your microfiber cloth to wipe down the knob, removing any dirt and grease. This ensures a strong bond when you apply glue.
Applying Epoxy Glue
Now that your knob is clean and free from the door, it’s time to get to the heart of the repair.
1. Mix the epoxy: Follow the instructions on your chosen epoxy glue. Most require you to mix resin and hardener together.
2. Apply the glue: Carefully use a toothpick or a small brush to apply the glue to the crack. Make sure it fills the crack well.
3. Hold it together: Press the pieces back together. You might need to hold them for a minute or two, depending on the glue’s instructions.
Finishing Touches
Once the glue has set, you can finish up your repair.
1. Sand the surface: If there are any rough edges from the glue, gently sand them down with fine-grit sandpaper. This will help create a smooth finish.
2. Apply clear nail polish: For small cracks, a coat of clear nail polish can seal the crack and prevent it from spreading. Just brush it on carefully and let it dry.
3. Reattach the knob: Once everything is dry, it’s time to put your knob back on the door. Use your screwdriver to secure it in place, and make sure it turns smoothly.
When to Replace Instead of Repair
While many cracks can be repaired successfully, there are times when replacement is the wiser choice. If the crack is extensive or the knob feels loose even after repairs, it might be time to consider a new one. Also, if the knob is broken beyond repair or if it has sentimental value, finding a matching replacement may be more satisfying.
Additionally, if you notice that the knob functions poorly after your repair attempts, a fresh start might be best. A well-functioning door knob enhances the overall security and usability of your door.
Preventing Future Cracks
After all that hard work, the last thing you want is for your knob to crack again. Here are some simple tips to help prevent cracks in the future:
- Avoid force: Be gentle when using the knob. Yanking or pulling can lead to cracks.
- Proper placement: If possible, position your knob away from extreme temperatures or direct heat sources.
- Regular inspections: Check your knobs periodically for any signs of wear. Address small issues before they become bigger problems.
By being mindful, you can extend the life of your door knobs and keep them looking beautiful.
Repairing a cracked glass or crystal door knob doesn’t have to be a stressful task. With some patience and the right tools, you can breathe new life into your elegant fixtures. Plus, DIY repairs can be quite rewarding—there’s a certain satisfaction that comes from fixing something with your own hands.
So next time you see a crack, don’t despair. You now have the knowledge to tackle it head-on. Whether it’s a cherished piece or just a functional part of your home, you can restore it and keep enjoying its beauty for years to come. Happy repairing!
