
Here’s the good news: replacing a broken dummy knob is easier than it sounds. You don’t need to be a DIY expert or have a toolbox full of fancy gadgets. All you really need are a few basic tools, a replacement knob, and some patience. Let’s walk through the process together, step-by-step, and tackle any questions you might have along the way.
Understanding Dummy Knobs and Their Function
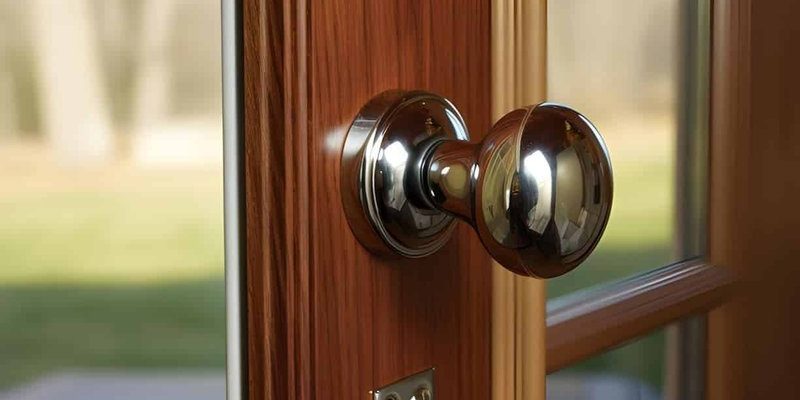
Before jumping into the replacement process, let’s clarify what a dummy knob is. Unlike a traditional door knob, which is designed to turn and operate a lock, a dummy knob is purely decorative. It usually sits on the inactive side of a double door, providing a finished look without any moving parts.
Dummy knobs come in various styles and finishes, so you can find one that suits your door’s design perfectly. The materials can range from brass to stainless steel, and finishes can include everything from polished to matte. Knowing the style and finish of your existing dummy knob will not only make your replacement easier but will ensure that your door looks cohesive.
Now, why is a dummy knob important, aside from aesthetics? Well, it can help align the two doors when they are closed and can sometimes cover holes left by previous hardware. If your knob is cracked or missing, it may affect how the door looks and functions overall.
Gathering Your Tools and Materials
Before jumping into replacing that dummy knob, take some time to gather all the necessary tools and materials. You want to set yourself up for success. Here’s a simple list to help you out:
- Replacement dummy knob: Choose one that matches your door’s finish and style.
- Screwdriver: Most knobs can be removed with a flathead or Phillips screwdriver.
- Level: This is optional but can help ensure your knob is aligned properly.
- Measuring tape: Useful for checking the distance between mounting holes.
- Clean cloth: For wiping down the area around the knob.
Having these tools at hand will make the process much smoother. Trust me, trying to find your screwdriver halfway through will only slow you down.
Removing the Damaged Dummy Knob
Now that you have everything ready, it’s time to remove the damaged knob. This might seem daunting, but with a bit of focus, you’ll handle it like a pro.
First, locate the screws holding the knob in place. These are usually found on the inside of the door. Depending on your knob design, you might need to unscrew the knob itself or a plate that holds it.
Once you’ve found the screws, use your screwdriver to gently unscrew them. Keep a safe spot for these screws; you’ll need them for the new knob. After unscrewing, gently pull the knob away from the door. If it feels stuck, a little wiggle or push should help.
Inspect the area where the knob was attached. If you notice any leftover pieces or dust, give it a quick wipe with your clean cloth.
Installing the New Dummy Knob
With the old knob removed, you can move on to installing the new one. This is the exciting part! Start by checking the new knob for alignment with the existing holes in the door.
Here’s how to install it:
1. Position the knob: Place the new dummy knob against the door where the old one used to be. If there’s a plate, line it up with the screw holes.
2. Insert screws: Take your screws and insert them into the holes on the knob. If the knob has a backplate, make sure the screws go through the plate.
3. Tighten securely: Use your screwdriver to tighten the screws, but don’t overtighten. You want it secure but not so tight that it damages the knob or door.
At this point, step back and have a look. Does everything look straight? Maybe grab that level if you have it. A small adjustment now can make a big difference later.
Testing Your New Dummy Knob
Once your new dummy knob is in place, it’s time to test it out. Though it doesn’t function like a regular knob, you can ensure it’s securely attached.
Give it a gentle pull to check that it’s stable. It shouldn’t wiggle or feel loose. Also, look closely at how it aligns with the other half of the French door. A properly installed dummy knob will enhance the overall look and function of the door.
If everything seems secure, congratulations! You’ve successfully replaced a damaged dummy knob. If it feels a bit off, don’t hesitate to adjust the screws slightly and check the alignment again.
Maintaining Your Dummy Knob
Now that your dummy knob is in place, maintaining it is key to keeping it looking great. Here are a few tips for upkeep:
– Regular Cleaning: Use a mild soap solution and a soft cloth to clean the knob. This prevents grime and dirt build-up.
– Check for Wear: Periodically check for any signs of damage or loosening screws. It’s an easy fix that can prevent future problems.
– Avoid Harsh Chemicals: Steer clear of abrasive cleaners that can scratch or damage the finish.
By keeping your knob clean and checking it regularly, you’ll ensure it stays in great shape for years to come.
Replacing a damaged dummy knob on your French door is a straightforward DIY task you can handle with minimal tools and time. Not only does it improve the appearance of your door, but it also shows that you care about the details in your home.
Whether you’re sprucing up your space or tackling necessary repairs, knowing how to replace a dummy knob is just one of those handy skills that pay off. With a new knob in place, your French door will look as good as new. So grab your tools, take your time, and enjoy the satisfaction of a job well done!