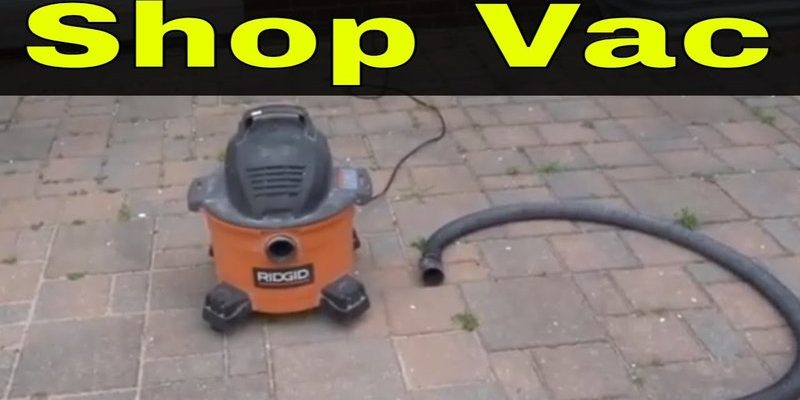
Using a shop vac might seem a bit intimidating at first, especially if you’ve only ever used a regular vacuum. But don’t worry! It’s a straightforward process once you get the hang of it. Brands like Shop-Vac make powerful and reliable units that can handle various debris types. Whether you’re cleaning up sawdust from a home renovation or just tidying up after your kids, this guide will walk you through the process step by step.
Why Use a Shop Vac for Cleaning Door Hardware?
You might be wondering, “Why use a shop vac instead of a regular vacuum?” Well, here’s the thing: shop vacs are built for tough jobs. They can handle heavier debris like dust particles, dirt, and even small bits of wood or metal shavings that often gather around your door hardware. A standard vacuum might clog or lose suction when faced with these types of messes.
Moreover, shop vacs usually come with various attachments, allowing you to customize your cleaning experience. For example, using a crevice tool can help you reach those tricky spots around hinges and locks, ensuring every nook and cranny gets cleaned. This versatility makes them ideal for home projects where debris accumulates quickly.
Gathering Your Supplies
Before you dive into cleaning, it’s a good idea to gather all your supplies. Here’s a quick list of what you’ll need:
- A shop vac
- Crevice tool attachment
- Dust mask (optional)
- Protective eyewear (optional)
Having everything in one place makes the process smoother. If you’re using a shop vac for the first time, get familiar with the unit. Check the power settings and confirm that the collection tank is empty. Trust me; there’s nothing more annoying than starting a cleaning job just to realize your vac is full!
Preparing the Area for Cleaning
Once you’ve gathered your supplies, it’s time to prep the area around the door hardware. Clear away any nearby furniture or decorations to give yourself plenty of room to work. This step isn’t just about cleanliness; it helps ensure you can move around comfortably without knocking anything over.
If you’re cleaning around an exterior door, consider closing the door to prevent debris from blowing inside. Also, if you’re working with a lot of dust—think renovations—it might be wise to wear a dust mask and protective eyewear. This keeps you safe and comfortable while you do your thing.
Using the Shop Vac Effectively
Now, let’s get down to business—using the shop vac! Start by plugging it in and turning it on. Adjust the power settings if your shop vac has different suction levels, opting for higher power if you’re dealing with heavier debris.
Take the crevice tool attachment and guide it gently into those hard-to-reach areas around the door hardware. It’s helpful to angle the tool so you can catch everything. Move slowly along the edges of the door frame, around hinges, and under any hardware. If you notice a build-up in a particular spot, you can pause and apply more suction to clear it out. Don’t rush through this; the slower you go, the better your results!
Cleaning Specific Areas
Cleaning door hardware isn’t just a one-size-fits-all approach. Different areas need different attention. Here’s how to focus on specific parts:
– Hinges: Make sure the crevice tool gets into the little gaps where dust tends to build up. You might need to wiggle it a bit to dislodge stuck debris.
– Locks: When cleaning around locks, use a light touch. You don’t want to introduce any moisture from the shop vac that could cause rust or damage. A dry vacuum is best for this job.
– Door Frame: Along the sides of the door frame, you can use a flat nozzle attachment for broader suction. Move it along the molding to pick up any dust or cobwebs.
Taking care of these areas will not only keep your door looking nice but also help preserve the hardware’s functionality.
Disposing of Debris Safely
Once you’ve finished vacuuming, it’s time to dispose of the collected debris. Most shop vacs have a simple way to empty the tank. Open up the collection tank and dump the debris into a trash bag. Make sure you’re careful not to spill it everywhere!
Also, check the filter. If it looks clogged or dirty, it’s crucial to clean or replace it before your next use. A clean filter keeps your shop vac running efficiently and helps avoid any unpleasant odors.
Maintaining Your Shop Vac
After a cleaning session, it’s essential to give your shop vac a little TLC. Regular maintenance can extend its life and keep it working effectively. Here are some tips:
– Clean the filter: Depending on the type of debris collected, you may need to clean the filter more often. A clogged filter reduces suction power.
– Check for blockages: After use, inspect the hose and attachments for any clogs. Clearing these can help maintain optimal performance.
– Store it properly: Make sure to store your shop vac in a dry place, protecting it from humidity and potential rust.
Maintaining your shop vac isn’t just smart; it ensures you’ll always have it ready to tackle future cleaning tasks.
Using a shop vac to clean debris from door hardware areas might seem like a chore, but with the right approach, it becomes a manageable task. By following these steps, you’ll not only keep your doors looking great but also prolong the life of your door hardware. Remember, it’s all about having the right tools and techniques.
So grab your shop vac, roll up your sleeves, and tackle those pesky debris-filled corners. You’ll be amazed at the difference it makes, not just in cleanliness, but in the overall look and functionality of your doors. Happy cleaning!