Imagine you’re building a bookshelf. You’ve got all the wood cut and ready to go, but now you need to drill those holes for the screws. You want them to be perfectly placed, so everything lines up. That’s where a drill guide, like the Kreg Jig or similar models, comes into play. It not only keeps your drill steady but also ensures those pesky pilot holes are spot on.
Let’s explore how to use a drill guide effectively, from understanding the tool to executing those perfect pilot holes.
What Is a Drill Guide?
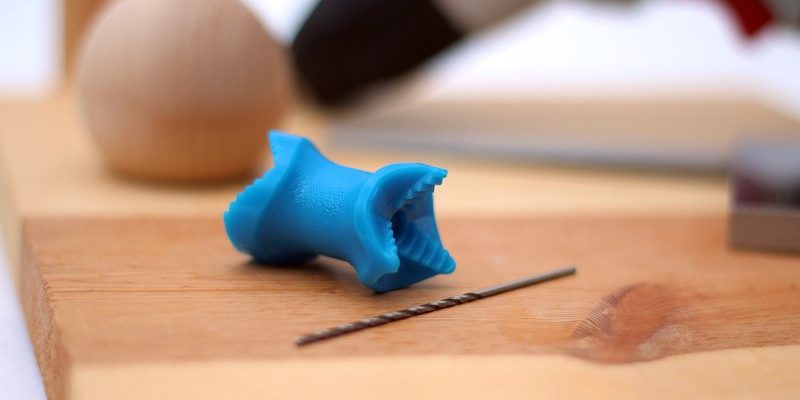
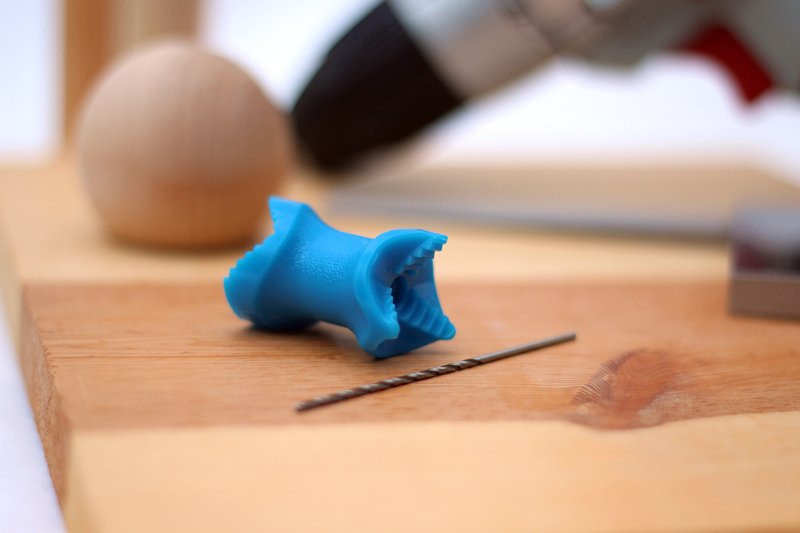
A drill guide is a handy tool that helps you drill holes at precise angles and depths. It acts as a template, keeping your drill bit aligned correctly so that you don’t end up with crooked holes. Think of it like a training wheel for drilling—helping you maintain balance and accuracy.
There are several types of drill guides available, from simple handheld ones to more complex setups that allow for adjustable angles. Some popular brands include the Kreg and Rockler drill guides, which are great for various woodworking projects. What’s cool is that they cater to both professionals and beginners, making them user-friendly.
One of the best features of a drill guide is that it eliminates guesswork. Instead of eyeballing the position of your hole, you’re using a tool designed to ensure precision. This is especially crucial when you’re working on projects that require multiple holes to align perfectly, like cabinetry or furniture assembly.
Why Use a Drill Guide?
You might be wondering why you should go the extra mile to use a drill guide. Well, the answer is simple: accuracy leads to quality work. When you use a drill guide, you enhance your chances of creating neat, straight pilot holes. This not only strengthens your construction but also improves the aesthetic appeal of your project.
Another reason to use a drill guide is to reduce the risk of damaging your material. If you drill without a guide, you might apply too much pressure, causing the wood to split or crack. A drill guide helps stabilize your drill, allowing for even pressure and cleaner results.
Plus, let’s be real: using a drill guide can make your projects look more professional. Even if you’re just a hobbyist, the quality of your work speaks volumes. With the right tools and techniques, you can achieve results that impress both yourself and others.
Choosing the Right Drill Guide
When it comes to choosing a drill guide, there are a few factors to keep in mind. First, consider the type of projects you typically work on. If you mainly do woodworking, a versatile drill guide that can handle various wood dimensions is ideal. Alternatively, if you’re focused on metal or plastic projects, ensure the guide you choose can accommodate those materials too.
Next, check the adjustability feature. Some models allow for angle adjustments, which can be beneficial when working on unique projects like furniture or angled joints. Brands like Kreg offer robust options with great flexibility, allowing you to drill holes at different angles without hassle.
Finally, don’t forget about size and portability. If you’re working on-site or have limited space in your workshop, choose a guide that’s compact and easy to set up. You want something that won’t take ages to assemble, albeit being sturdy enough to provide support during your work.
Setting Up Your Drill Guide
Once you’ve chosen the right drill guide, it’s time to set it up. Follow these simple steps:
1. Secure the Base: Most drill guides have a base that needs to be secured to your work surface. Use clamps to hold it in place. This keeps everything steady while you drill.
2. Insert the Drill Bit: Depending on the guide you’re using, you may need to insert your drill bit into a specific holder. Ensure it’s tightened properly to avoid any wobbling during drilling.
3. Adjust the Depth Stop: If your drill guide has a depth stop, set it according to how deep you want your pilot hole. This feature ensures consistent hole depth across multiple holes.
4. Align the Guide: Position your workpiece under the guide. Make sure everything lines up correctly. Double-check your measurements—this step is crucial for accuracy.
Taking the time to set up your drill guide properly makes all the difference. It’s like laying a strong foundation before building a house.
Drilling Accurate Pilot Holes
Now that your drill guide is set up and ready to go, let’s drill those pilot holes. Here’s how to do it:
– Hold the Drill Steady: Grip your drill with both hands for better control. Having a firm grip helps prevent any unexpected slips.
– Start Slowly: Begin drilling at a low speed. This helps create a more precise hole and gives you better control. Once you feel comfortable, you can increase the speed but do so gradually.
– Check the Angle: Keep an eye on your drill angle as you work. Even a slight tilt can throw off the hole placement, especially if you’re drilling multiple holes.
– Clear Debris as You Go: If you notice wood shavings or dust building up, pause and clear them out. This not only keeps your workspace clean but also allows you to see the hole better.
By following these steps, you’ll be well on your way to mastering the art of drilling pilot holes with precision.
Common Troubleshooting Tips
Even with the best tools, you might run into a few hiccups. Here are some common problems and how to tackle them:
– Misalignment: If your holes aren’t aligning perfectly, check if your drill guide is secure and level. Sometimes minor adjustments can solve the issue.
– Splitting the Material: If your material is splitting, ensure that you’re using the correct bit type and size. A dull bit or the wrong type can cause excess pressure, leading to splits.
– Drilling Too Deep: If you find that your holes are deeper than intended, double-check the depth stop settings on your guide. It’s an easy fix that can save you from headaches later on.
– Difficulty with Hard Materials: If you’re drilling into harder materials and struggling, consider using a slower speed or a specialized drill bit designed for that material.
Don’t let these little setbacks discourage you. Each problem has a solution, and learning how to troubleshoot will make you a more skilled and confident DIYer.
Keeping Your Drill Guide in Good Shape
To ensure your drill guide lasts a long time, proper maintenance is key. Regularly clean it to remove dust and debris, and check for any signs of wear and tear. If you notice any loose parts, tighten them immediately.
Occasionally, lubricate any moving parts to keep them functioning smoothly. This prevents any rust or buildup that could hinder your drilling precision. By taking good care of your drill guide, you’ll ensure it remains an invaluable tool in your DIY arsenal for years to come.
Using a drill guide is one of those skills that can elevate your DIY projects from ordinary to extraordinary. Once you get the hang of it, you’ll wonder how you ever drilled without one. The precision, the accuracy, and the confidence it provides can completely change your approach to drilling.
So, grab your drill guide, follow the steps outlined here, and let your creativity flow. With practice, you’ll master the art of drilling accurate pilot holes, making every project you tackle not just easier, but also more enjoyable.