Repairing a pocket door frame can seem a bit daunting at first, but think of it as a puzzle. A few key pieces need to fit together correctly to make everything function smoothly again. You might be familiar with brands like Johnson Hardware or Stanley, which make popular pocket door systems. We’ll get into the specifics of repairing the frame around these systems so that you can enjoy the convenience and style that pocket doors offer without the hassle of a broken frame.
Understanding Pocket Door Frames
A pocket door frame is designed to hold a door that slides into the wall when open, saving space in smaller rooms. These frames have specific components that work together—like tracks, brackets, and the door itself. When it comes to repairs, the focus is often on the area around the hardware, where wear and tear is most noticeable.
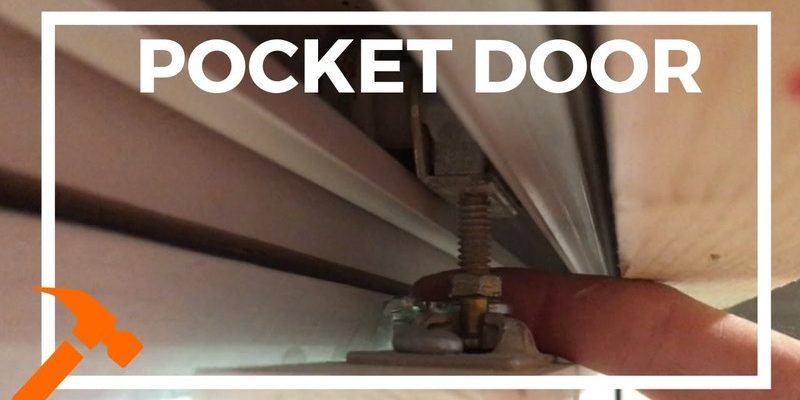
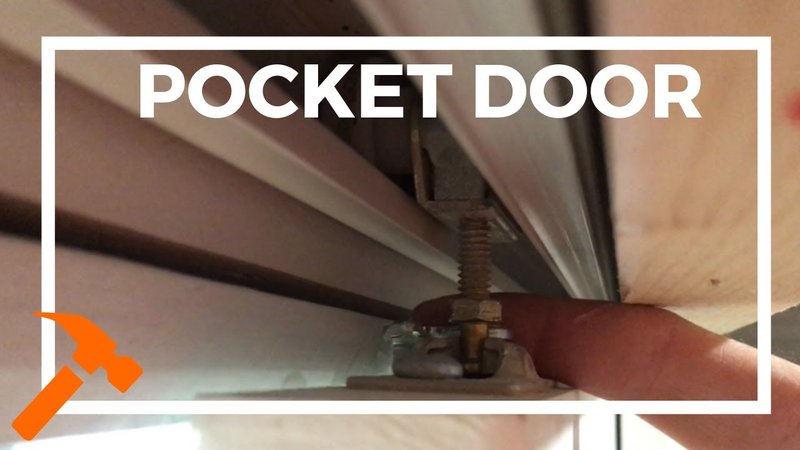
You might be wondering why the hardware area is so critical. Well, it’s where the door connects to the frame, impacting how well it aligns and operates. If this part of the frame is damaged, the whole door can misalign, create gaps, or even become stuck. Recognizing this is the first step in understanding how to fix it.
Tools and Materials Needed
Before diving into repairs, it’s essential to gather the right tools and materials. This makes the process smoother, like assembling a well-stocked toolbox before embarking on a project. Here’s what you’ll typically need:
- Utility knife: For cutting and shaping materials.
- Screwdriver set: To remove or tighten screws around the hardware.
- Wood glue: A strong adhesive to bond damaged wood parts.
- Wood filler: To fill in gaps or holes.
- Sandpaper: To smooth out repaired areas.
- Paint or stain: To finish the repairs and match the existing frame.
Having these items within reach can save you time and make your repairs more efficient. Once you have everything ready, you can tackle the repair job without unnecessary interruptions.
Assessing the Damage
After you’ve equipped yourself with the right tools, the next step is assessing the damage. Look closely at the frame around the hardware. Are there cracks, bowing, or loose screws? Take a moment to note these issues. Understanding the extent of the damage is like reading the introduction of a story—it sets the stage for what comes next.
If you find cracks or splits, they may be signs of more significant wear. Loose screws might mean the hardware is no longer secured properly, leading to more severe alignment issues over time. On the other hand, if the damage is minimal, a simple tightening might be all you need.
Repairing Minor Damage
For minor damage, such as small cracks or loose screws, you can often make quick fixes that provide a solid foundation. Here’s how:
1. Tighten Screws: Use your screwdriver to check all screws around the hardware. If any are loose, give them a little twist to secure them. A firm but gentle hand is best here.
2. Fill Cracks: For small cracks in the frame, apply wood filler using a putty knife. Smooth it out, making sure it’s even with the surrounding area. Once dry, sand it down to match the frame’s surface.
3. Finish Up: After sanding, you can paint or stain the repaired area to blend it with the rest of the door frame. It’s like giving it a fresh coat to look good as new!
These simple repairs can often restore functionality without needing to replace parts or cause a lot of disruption.
Repairing Major Damage
If the damage is more extensive—think major cracks or a warped frame—you might need to take a few extra steps to ensure a solid fix. Here’s how to approach it:
1. Remove the Door: First, you’ll want to take the door off its track. This can usually be done by lifting it up and out of its position. It’s akin to removing a book from a shelf; sometimes you need to clear the area to get to the part you’re working on.
2. Assess the Frame: With the door out of the way, examine the frame more closely. If it’s bowed or severely cracked, it may need replacing. If it’s just the section around the hardware that’s damaged, you can cut out and replace just that area.
3. Cut and Replace: Using your utility knife, carefully cut away the damaged section. Then, measure and cut a new piece of wood to fit the opening. Secure this new piece in place using wood glue and screws.
4. Reinstall and Finish: After the new piece is secured and dried, reinstall the door onto its track. Again, utilize paint or stain for a polished look.
Even though these repairs take a little more time, they can save you from replacing the entire frame down the line.
Testing the Repair
Once you’ve completed the repairs, it’s time to test the functionality of your pocket door. Gently slide the door back into the frame and see how it moves. Ideally, it should glide smoothly without any sticking or wobbling. Think of this like taking a car for a test drive after making repairs; you want to ensure everything is in working order.
If you find it’s still sticking, check the alignment with the hardware. Sometimes, a slight adjustment can fix the issue. It’s a good idea to make sure everything is aligned properly before calling it a day.
Preventive Measures for the Future
After all that work, you naturally want to prevent future damage. Taking care of your pocket door frame is crucial for long-lasting functionality. Here are a few tips to consider:
- Regular Maintenance: Periodically check the screws and hardware. Tightening them can prevent misalignment.
- Clean Tracks: Keeping the tracks free of dust and debris can help the door slide smoothly.
- Avoid Overloading: Make sure not to hang heavy items on the door that could strain the frame.
Taking these preventive measures can help extend the life of your pocket door and its frame, saving you time and hassle down the road.
Repairing a damaged pocket door frame around the hardware might seem like a daunting task, but with the right tools and knowledge, it can be a manageable DIY project. Start with a clear assessment of the damage, gather your materials, and follow the steps outlined here. Whether you’re dealing with minor fixes or more significant repairs, each step brings you closer to a fully functioning pocket door.
At the end of the day, a well-maintained pocket door not only saves space but also adds charm and convenience to your home. So, roll up your sleeves and dive in—you’ll be surprised at how rewarding it can be to handle repairs like these yourself!