You might be wondering why you shouldn’t just use sandpaper alone. Well, a sanding block provides a flat, even surface that ensures uniform pressure with each stroke. Without it, you risk creating uneven surfaces that could compromise your work. Brands like 3M and Rockler offer great options for sanding blocks, but honestly, anything that gives you a solid grip and stable surface will do the trick. Let’s dive deeper into how to use a sanding block effectively for smoothing your mortises.
Understanding Mortises
Before we jump into using a sanding block, let’s make sure we’re clear about what a mortise is. A mortise is a recess cut into a piece of wood that serves as a socket for a tenon (the projection from another piece of wood). This technique has been around for ages, used in everything from furniture making to timber framing. Imagine building a bridge: the mortise is like a secure dock where the beams fit snugly together, ensuring everything holds strong.
Typically, mortises can be created with chisels, routers, or drill bits. Each method comes with its own set of pros and cons. Chiseling might offer precision but can be labor-intensive. Routers speed things up but require steady hands. And while drill bits can get the job done quickly, they might leave rough edges. That’s where the sanding block comes in to smooth out those imperfections, creating a clean, polished joint.
Choosing the Right Sanding Block
When it comes to sanding blocks, not all are created equal. There are various shapes and sizes available, each suited for different tasks. For smoothing mortises, a flat or rectangular sanding block works best. It gives you that smooth, even surface you need. Here are a few features to consider:
- Material: Look for a block that’s durable yet not too aggressive. A soft rubber sanding block can conform slightly to the surface, helping to smooth out subtle dips.
- Grip: A good sanding block has a sturdy grip, allowing you to apply pressure without slipping as you work.
- Size: Choose a block that’s manageable for your hands. Too big can be unwieldy, while too small might not provide the leverage you need.
Brands like 3M offer various sanding blocks that are easy to find. Just remember, your goal is to select one that feels comfortable and natural in your hand, enhancing your control while you work.
Selecting The Right Sandpaper Grit
Now that you have your sanding block, let’s talk about sandpaper grit. This is crucial for achieving the smooth finish you want. Grit numbers range from coarse (low numbers) to fine (high numbers). For mortises, you’ll want to start with a medium grit, like 120, to remove any rough edges and then move to a finer grit, around 220, for that final polish.
Here’s how to approach it:
1. Start with Medium Grit: Use the 120 grit to tackle any rough patches left from chiseling or routing. Hold the sanding block flat against the surface and apply even pressure while moving it back and forth. Don’t rush; patience is key here.
2. Switch to Fine Grit: Once you’ve smoothed out the basics, grab your 220 grit. This will help remove any scratches left by the coarser paper and give you a buttery-smooth finish. Again, apply even pressure and be gentle.
By selecting the right grits, you’ll also avoid the common mistake of skipping to fine grit too quickly, which can leave imperfections behind.
Technique for Using a Sanding Block
Now let’s get into the nitty-gritty of using the sanding block effectively. Think of it like painting a wall. If you don’t cover every inch and use even strokes, you’ll end up with inconsistencies. Here’s a technique that can help you achieve even results:
1. Prep Your Mortise: Start by checking the mortise for any loose debris or shavings. Clean it out with a brush or compressed air. A clean workspace will lead to better sanding results.
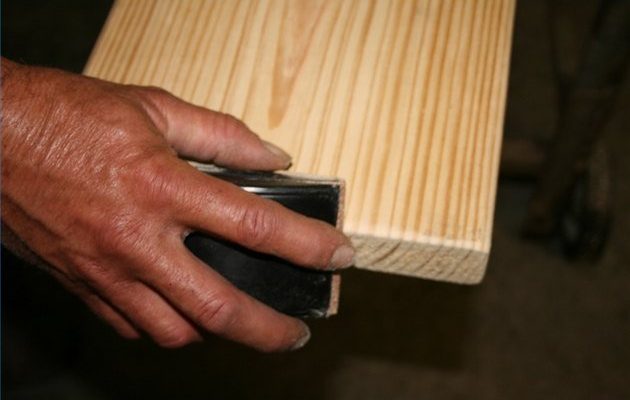
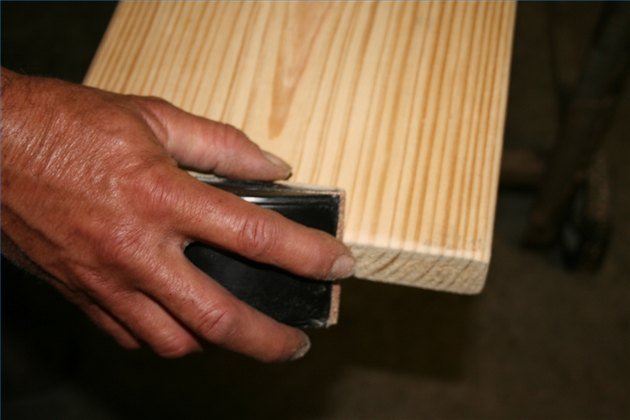
2. Grip Your Sanding Block: Hold the sanding block firmly with both hands. This gives you better control over the pressure and ensures you don’t slip.
3. Sanding Motion: Move the block in a back-and-forth motion, following the grain of the wood if possible. You might also want to apply slight side-to-side movements to reach the corners of the mortise effectively.
4. Check Your Progress: After a few strokes, take a look at what you’ve done. It’s tempting to keep going, but checking often helps prevent over-sanding and lets you see how smooth the surface is getting.
Consistency is key. By using these techniques, you’ll not only smooth out the mortise but also build a rhythm that makes the process enjoyable.
When to Use a Sanding Block vs. Other Methods
You might wonder if a sanding block is always the best choice. While it’s great for smoothing out mortises, there are times when you might prefer another method. Here’s a quick comparison to help you decide:
- Sanding Block: Best for precision work and same-surface sanding. Great for achieving smooth finishes in tight spaces.
- Orbital Sander: Perfect for larger surfaces where speed is essential, but it may not fit into tight mortises without leaving edges unfinished.
- Hand Sanding: Useful for small areas, although it can take longer to get the desired smooth finish.
When it comes to mortises, the sanding block generally wins for its balance of control and smoothness. However, don’t hesitate to mix in other methods for different project needs.
Troubleshooting Common Issues
Even with the best intentions, you might run into some hiccups while using your sanding block. Here are a few common issues and how to tackle them:
1. Uneven Surfaces: If you notice some areas are still rough after sanding, it could be due to uneven pressure. Try adjusting your grip and angle to ensure even strokes across the mortise.
2. Sandpaper Clogging: Sometimes, sandpaper can clog up with wood dust, making it less effective. To prevent this, you can use a sandpaper cleaning block or simply tap it against a hard surface to dislodge any debris.
3. Over-Sanding: It’s easy to over-sand and lose the sharp edges of your mortise. Stop often to check your progress and add a gentle touch when you’re close to the finish.
These troubleshooting tips can save you time and refine your technique, helping you achieve better results down the line.
Using a sanding block to smooth mortises can make a big difference in the quality of your woodworking projects. It’s all about having the right tools and techniques at your disposal. Remember, the key is patience and practice. Don’t rush through the process; take the time to learn what works best for you and your projects.
With the proper sanding block, sandpaper, and technique, you’ll find that those rough edges can transform into beautifully smooth surfaces. Keep experimenting, and soon, you’ll be creating joints that are not only functional but also gorgeous. Happy sanding!