Here’s the thing: protecting your door finishes doesn’t have to be a stressful task. With the right techniques and a bit of know-how, you can minimize damage and keep those finishes shining. In this guide, I’ll walk you through practical ways to safeguard your door finishes during hardware repairs. Whether you’re tackling a simple knob replacement or a comprehensive hinge swap, these tips will help ensure your door finishes remain intact and beautiful.
Understanding Door Finishes
Before we dive into protection techniques, let’s clarify what door finishes are and why they matter. Door finishes are typically coatings applied to wooden or metal doors. They come in various forms, including paints, varnishes, and stains. Each finish provides different levels of durability and aesthetics.
For instance, a high-gloss finish might look stunning, but it’s more likely to show scratches than a satin finish. On the other hand, a natural wood stain may enhance the grain of the wood but could wear away quickly if not sealed properly. Understanding these finishes gives you a clearer picture of how to protect them during repairs.
Cleaning your door finish is also crucial. Dust and grime can build up over time, making any scratches during hardware repair more noticeable. Make sure to give your door a gentle clean with a mild soap and water solution before beginning any hardware adjustments.
Preparing the Workspace
A little preparation goes a long way in protecting your door finishes. Start by finding a clean and organized workspace. Clear away any clutter around the door to prevent accidental bumps. Lay down a drop cloth or some old towels on the ground. This simple step can catch any tools that might slip or any dust that might fall during your project.
Additionally, gather all your tools beforehand. You don’t want to be running back and forth, which could lead to spills or damages. Make sure you have these items handy:
- Soft cloths for cleaning your workspace
- Drop cloths or towels
- Protective tape for edges
- Your new hardware pieces
- Tools like screwdrivers or wrenches
By creating a safe and organized workspace, you eliminate a lot of potential accidents, which can save you from a headache later on.
Using Protective Tape
Protective tape is your best friend when it comes to safeguarding door finishes. Think of it as a superhero cape for your door. It shields those beautiful surfaces from scratches and dents caused by tools or hardware.
Apply the tape around the area where you will be working. This means putting it along the edges of the door and any spot where tools might make contact. It’s easy to use: just peel off a piece and stick it down. Make sure it adheres well, as a properly secured tape can absorb impacts and protect the finish underneath.
If you’re working with delicate finishes, consider using painter’s tape, which is designed for easy removal without damaging surfaces. That way, you won’t stress about residue or tears when you finish your repair.
Using a Protective Barrier
In addition to using protective tape, creating a barrier between your tools and the door can be incredibly effective. This might sound like overkill, but trust me—it’s worth it!
One smart way to create this barrier is to use a piece of cardboard. Cut it larger than the area you’ll be working on, then place it against the door. This cardboard will absorb any accidental slips or drops, protecting the finish beneath.
If you’re working on the hinges or knobs, a piece of foam can also work wonders. Just press it against the area and keep your tools on the foam while you work. This dual-layer approach gives you maximum protection with minimal effort.
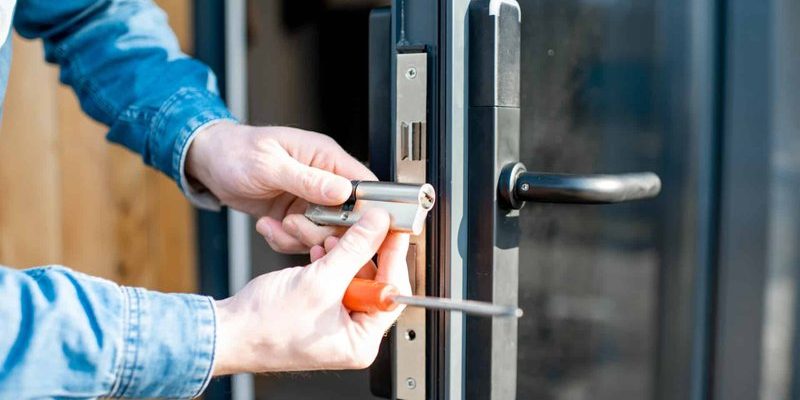
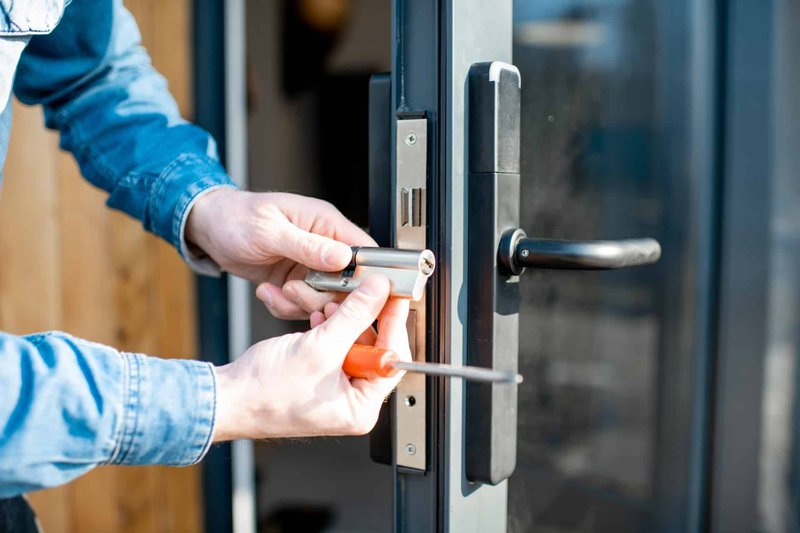
Handling Tools with Care
When you’re in the zone during hardware repairs, it’s easy to forget about the potential for damage. But handling your tools with care can prevent a lot of headaches. For instance, instead of forcing a screwdriver into a tight space, try using a longer tool that fits better.
Be mindful of how you set your tools down. Avoid dropping them on the door or leaning them against the wood, which can lead to scratches. If you’re using a drill, start at a low setting to reduce the torque on your door.
Always double-check that your tools are clean before you begin. Dirt and debris can easily cause scratches, so take the extra minute to wipe off any grime. You’ll thank yourself later!
Cleaning Up After the Repair
Once your hardware is installed, it’s essential to clean up properly. Removing the protective tape is the first step. Pull it off gently at a 45-degree angle to avoid tearing or pulling off any paint or finish.
Now, take a soft, damp cloth and wipe down the area where you worked. This will remove any dust or particles that might have settled during your repair. If you see any fingerprints or smudges, a little mild soap on a cloth can help clean them off without damaging the finish.
Finally, inspect the door closely. Look for any potential scratches or wear from the repair process. If you notice minor imperfections, consider using a touch-up pen or a little furniture polish to restore its shine.
Regular Maintenance for Longevity
Protecting your door finishes doesn’t stop after a hardware repair. Regular maintenance is key to keeping them looking fresh. Start by cleaning your doors periodically with a soft cloth. This prevents grime from building up and helps you spot any early signs of wear.
If you notice that the finish is becoming dull, apply a fresh coat of polish or sealer. This not only enhances the look but also adds an extra layer of protection against scratches or moisture.
Consider the climate you live in as well. In areas with high humidity, you may need to check your door finishes more often and reapply protective coatings as necessary. Keeping a regular maintenance schedule ensures that your doors remain stunning for years to come.
Repairing hardware on your doors doesn’t have to lead to unsightly scratches or damages. By taking a few extra steps—like preparing your workspace, using protective tape, and handling tools with care—you can effectively protect those lovely finishes.
Remember, door finishes are more than just a pretty face; they serve a vital role in the durability and appearance of your home’s entryways. With a little foresight and regular maintenance, you can keep your doors looking their best for years to come. So the next time you’re gearing up for a hardware repair, keep these tips in mind, and you’ll see how much easier (and cleaner) your project can be!