Assessing the Damage
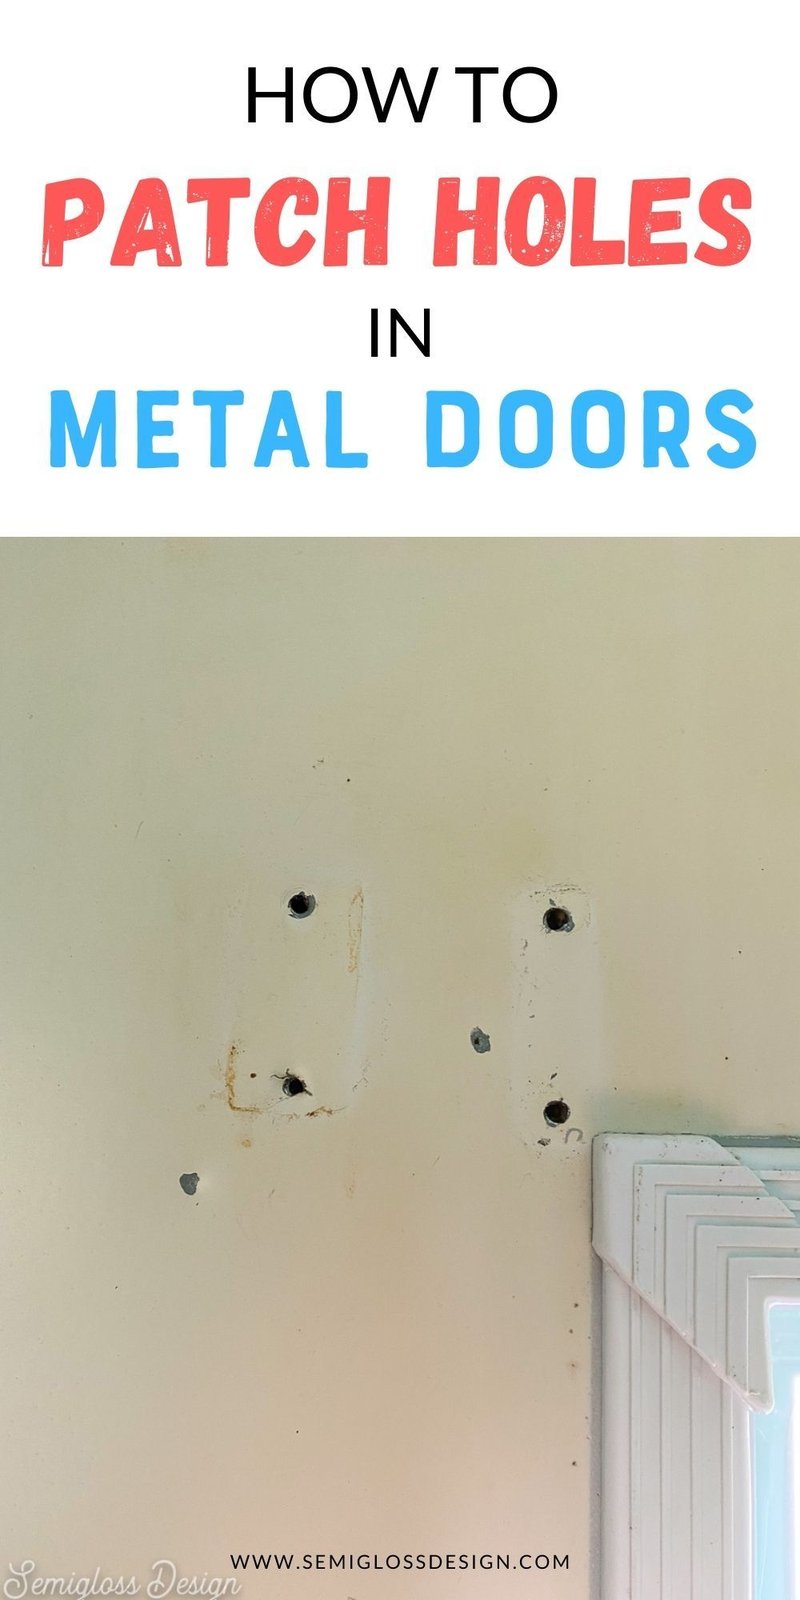
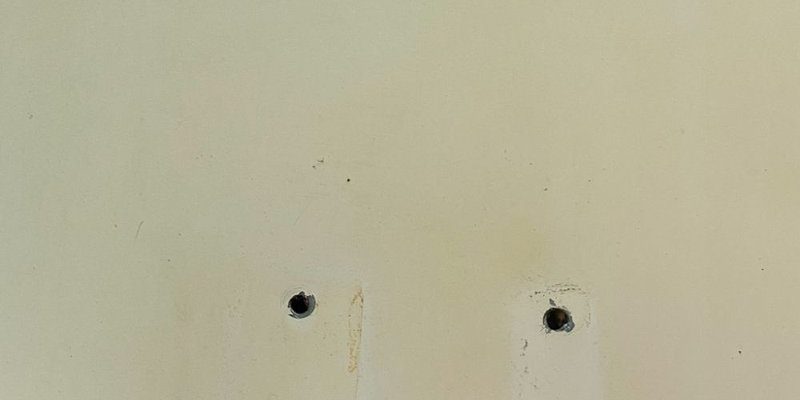
Before jumping into fixing the holes, it’s crucial to assess the damage. First, take a good look at the size of the holes. Are they small pinholes or large gaping openings? The size will determine your approach.
For *small holes*, you might get away with just using wood filler or spackling compound. But for *larger holes*, like those left by a doorknob or hinge, you’ll need a more robust solution. It involves more than just covering it up; you want the repaired area to blend in seamlessly with the rest of the door. This means taking into consideration the type of door you’re working with.
Understanding the door’s material will guide your material choice. Wooden doors can usually be repaired with wood filler. However, if your door is a hollow core or fiberglass, your approach will differ. Ready to decide? Let’s explore the best methods for each type of door!
Using Wood Filler for Wooden Doors
For wooden doors, wood filler is often the best option. It’s easy to apply, dries quickly, and can be sanded down to match the texture of the door. Here’s how to use it:
1. Clean the hole: Remove any loose wood or debris from the hole. A chisel might come in handy here if the hole is jagged.
2. Apply the filler: Scoop some wood filler onto a putty knife and firmly press it into the hole. Make sure to overfill slightly, as this will allow you to sand it down later.
3. Let it dry: Follow the manufacturer’s instructions for drying time, typically a few hours.
4. Sand it down: Once dried, sand the area smooth so it blends seamlessly with the surrounding wood.
Remember, if you’re planning to paint the door afterward, choose a wood filler compatible with paint.
Using a Patch Kit for Hollow Core Doors
Hollow core doors can be a bit trickier because they’re not solid like wooden doors. A patch kit specifically designed for hollow core doors is often the right solution. Here’s the step-by-step:
1. Get the right kit: Purchase a patch kit that includes a *patching material*, *adhesive*, and *a syringe for application*.
2. Cut the patch: Trim the patch material so it’s slightly larger than the hole.
3. Insert the patch: Use the syringe to inject adhesive around the hole, then position the patch over it, pressing firmly.
4. Seal and blend: Once the adhesive has set, sand down the edges to ensure a flush finish. You can then paint over it if needed.
Using a patch kit ensures that the integrity of the door remains intact, which is especially important for maintaining insulation and soundproofing.
Fiberglass Door Repair Techniques
Repairing fiberglass doors requires a slightly different approach. You’ll want to use a fiberglass repair kit, which includes resin and a cloth. Here’s how to tackle it:
1. Prepare the area: Clean the hole and remove any loose particles around it.
2. Mix the resin: Follow the instructions on your repair kit to mix the resin properly.
3. Apply the resin: Lay the fiberglass cloth over the hole, then saturate it with the resin. Use a brush to ensure an even coat.
4. Let it cure: Allow adequate time for the resin to cure. Once it’s hard, sand it down until it’s level with the door surface.
5. Finish it off: Paint or stain the area to match your door.
This method not only fills the hole but also restores the strength of the door, which is especially important in exterior fiberglass doors.
Painting and Finishing Touches
Once you’ve filled the holes, you might be wondering how to make everything look flawless. Here’s where painting comes in.
After your repairs have fully dried and been sanded, choose a paint that matches the door. If your door has a glossy finish, a primer is a good idea. It creates a barrier that ensures the paint adheres well and stays true to color.
Use a high-quality paintbrush or roller to apply the paint evenly. You may need two coats for full coverage, especially if you used a different material than the original door.
This step is crucial for making sure your door looks professional. It’s like the icing on a cake; it takes the repair from good to great!
Preventing Future Damage
To avoid the hassle of future repairs, consider how you handle your door hardware. If you’re frequently relocating doorknobs or hinges, make sure to measure carefully before making any new holes.
Here are a few tips:
– Use templates: When installing new hardware, use a template to mark where the holes should go.
– Consider a universal hardware system: These often come with adjustable mounting options to avoid drilling new holes.
– Regular checks: Occasionally check the hardware to ensure it’s secure, which can prevent future issues.
Taking these precautions can save you time, effort, and potential repairs down the line.
Filling large holes in doors might seem like a daunting task, but with the right methods, you can tackle it confidently. From using wood filler on wooden doors to applying fiberglass patches for fiberglass doors, each approach can restore your door’s appearance effectively. With a little patience and effort, you can ensure every door in your home remains functional and visually appealing.
So grab your tools, channel your inner DIY enthusiast, and get started on making those repairs. You’ve got this!
