Pocket doors, designed to slide into the wall, can save space and add style to your home. However, over time, the rollers that help the door glide can wear out or break. Think of them as the wheels on a shopping cart. If those wheels get damaged, the whole cart becomes hard to maneuver. Luckily, replacing these rollers isn’t as complicated as it may sound—especially if you have a good understanding of the process. Let’s dive in!
Understanding Your Pocket Door System
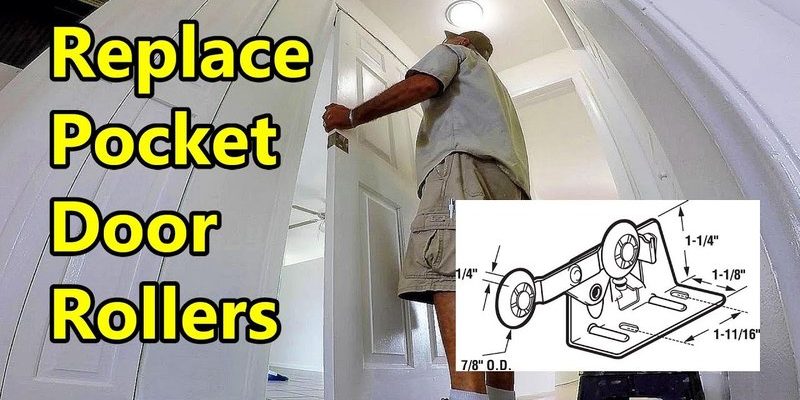
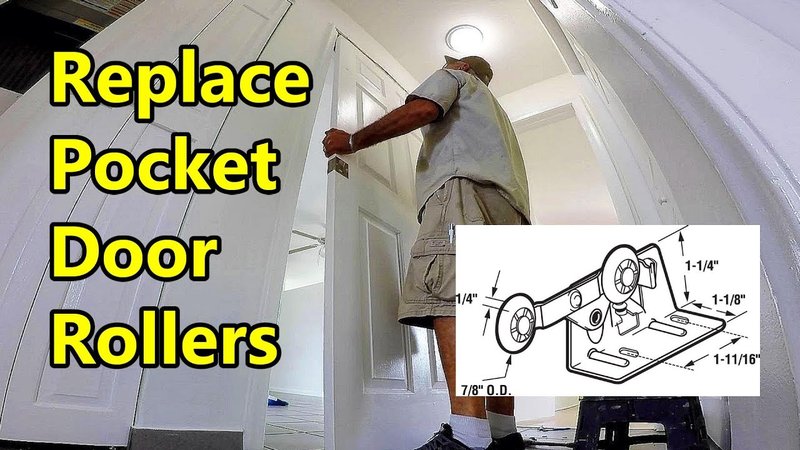
Before you start replacing the rollers, it’s essential to understand how your pocket door works. Pocket doors glide on a track that’s mounted inside the wall, and the rollers are attached to the top of the door. They fit into this track, allowing the door to slide smoothly in and out. Think of it like a train on its tracks. If the train’s wheels (or in this case, rollers) aren’t functioning well, the journey is going to be bumpy.
Most modern pocket doors use either plastic or metal rollers. Plastic rollers are lighter and often quieter, while metal rollers are typically more durable. Depending on your door’s age and style, you’ll want to choose the right type of rollers for replacement. If you’re unsure, check the manufacturer’s instructions or even snap a picture to take to your local home improvement store for advice.
Gathering Your Tools and Materials
Before you start tackling the replacement, gather everything you’ll need. Here’s a simple list:
- New rollers (make sure they are compatible with your door)
- Screwdriver (Phillips or flathead, depending on your screws)
- Drill with bits (optional, if you need to drill new holes)
- Level (to ensure your door hangs straight)
- Measuring tape
- Safety goggles and gloves
It’s always best to have everything on hand before you begin. Imagine starting to cook a new recipe only to find out you’re missing a key ingredient halfway through. That can be frustrating!
Removing the Pocket Door
Now that you have your tools, the next step is to remove the pocket door from the frame. Here’s how to go about it:
1. Find the screws: Examine the top of the door where the rollers are attached. You’ll see screws that need to be removed.
2. Support the door: As you unscrew, have someone help support the door, or use a door stop on the floor to prevent it from falling.
3. Lift the door: Gently lift the door out of the track. This might take a bit of wiggling, so be patient.
Once the door is out, you’ll be able to see the rollers clearly.
Removing Old Rollers
With the door on a flat surface, it’s time to replace those old rollers. Each roller is typically secured with a screw. Here’s how to safely remove them:
1. Unscrew the old rollers: Using your screwdriver, carefully remove the screws holding the old rollers in place.
2. Slide off the rollers: Once the screws are out, slide the old rollers off the door.
Be careful while doing this; you may need to apply a little force if the rollers have been there for a long time. It’s like taking off a tight shoe after a long day—sometimes it just needs a bit of extra nudging.
Installing New Rollers
Now comes the fun part—putting on your shiny new rollers! Follow these steps for a smooth installation:
1. Align the new rollers: Position the new rollers in their slots. Make sure they’re lined up correctly as per the manufacturer’s instructions.
2. Secure the rollers: Use the screws you removed earlier to attach the new rollers, making sure they’re tightened properly. A loose roller can lead to future issues, so don’t skip this step.
Here’s the thing: if your door isn’t lining up perfectly, check to make sure the rollers are level. This is where your level tool will come in handy.
Reinstalling the Pocket Door
Once the new rollers are firmly attached, it’s time to put the door back in its track. Here’s how to do it without a hitch:
1. Insert the door back into the track: Slide the top of the door back into the track. It might take a little patience here; don’t force it!
2. Lower the door: Once the rollers are in place, lower the door gently back into its resting position.
3. Adjust the height: Check the height of the door against the wall. If it’s not perfectly aligned, you may need to adjust the roller screws slightly.
Your door should now slide much more smoothly than before!
Troubleshooting Common Issues
Sometimes, even after replacing the rollers, you might encounter a few issues. Here are some common problems and their quick fixes:
– Door sticks: If the door doesn’t slide well, check if the rollers are properly aligned and level. Sometimes a simple adjustment can make all the difference.
– Noise: If you hear squeaking or grinding sounds, apply a little lubricant to the rollers and track. Sometimes, a little grease goes a long way.
– Height issues: If the door is hanging too low or too high, revisit the roller adjustment screws. Small tweaks can resolve these problems quickly.
By addressing these minor issues, you can enjoy a seamless pocket door experience!
Why This Matters
Replacing the rollers on your pocket door isn’t just about convenience; it’s about maintaining the functionality and aesthetics of your home. A smoothly operating pocket door can elevate the look of your space and make everyday life easier. You might not think about it often, but those little repairs can save you from bigger problems in the future.
And remember, you don’t need to be a DIY expert to get this job done. With the right tools and a little patience, you’ve got this!
In conclusion, if your pocket door is becoming a problem, replacing the rollers is a manageable task that pays off big time. Embrace the process as a mini project, and soon enough, you’ll have a door that glides like new!