Honestly, cleaning and preparing your door hardware isn’t just about aesthetics; it’s essential for ensuring that paint adheres properly and gives you a smooth finish. Plus, nobody wants to deal with paint drips in the wrong places or knobs that look just as old and worn as they did before the paint job. Let me explain the best ways to clean and prepare door hardware so you can achieve a professional-looking result every time.
Why Clean Door Hardware Before Painting?
You might be wondering, “Isn’t it enough to just paint over the hardware?” While it’s tempting to skip this step, it can lead to several problems. Dirt, grease, or old paint can create uneven surfaces, making it harder for new paint to stick. If the new paint doesn’t adhere well, you might end up with peeling or chipping, leading to more work down the line.
Imagine trying to paint a canvas with a thick layer of dust on it. Not only would the colors look dull, but the paint might not stick at all. The same principle applies here. Cleaning your door hardware ensures that the paint will adhere properly, giving you a durable and attractive finish.
Additionally, cleaning hardware can help extend its life. Removing dirt and grime can prevent corrosion and rust, especially on metal pieces. Taking the time to prep your hardware can save you money in the long run by reducing the need for replacements.
Gather Your Cleaning Supplies
Before you dive into the cleaning process, it’s essential to have the right tools and supplies on hand. Here’s a simple list:
- Warm water
- Dish soap
- Soft cloths or rags
- Old toothbrush or a soft-bristle brush
- Baking soda (for tough spots)
- Protective gloves
- Mineral spirits (for more aggressive cleaning)
- Masking tape (to cover areas you don’t want to paint)
Having everything ready will make the process much smoother. You won’t be scrambling for supplies halfway through. Plus, it’ll help keep you organized, ensuring that each piece of hardware gets the attention it deserves.
Step-by-Step Cleaning Process
Once you have your supplies ready, it’s time to start cleaning your door hardware. Follow these steps to ensure a thorough job:
1. Remove the Hardware
First things first, you’ll need to take the door hardware off. This might involve unscrewing knobs, handles, or even hinges. Make sure to keep screws and small pieces in a bowl or container so they don’t get lost—trust me; you don’t want to be hunting for a tiny screw later!
2. Soak the Hardware
Next, mix a few drops of dish soap in warm water and soak the hardware for about 10-15 minutes. This will help loosen any grime. If you notice particularly tough spots, you can sprinkle a little baking soda on them before soaking. The mild abrasiveness of baking soda can help break down stubborn dirt without scratching the surface.
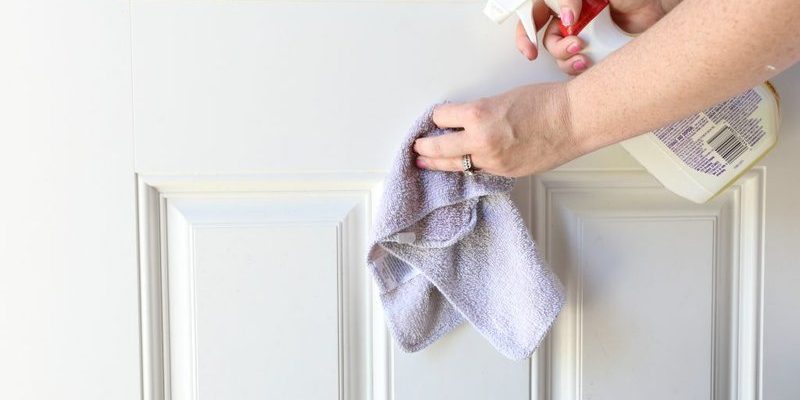
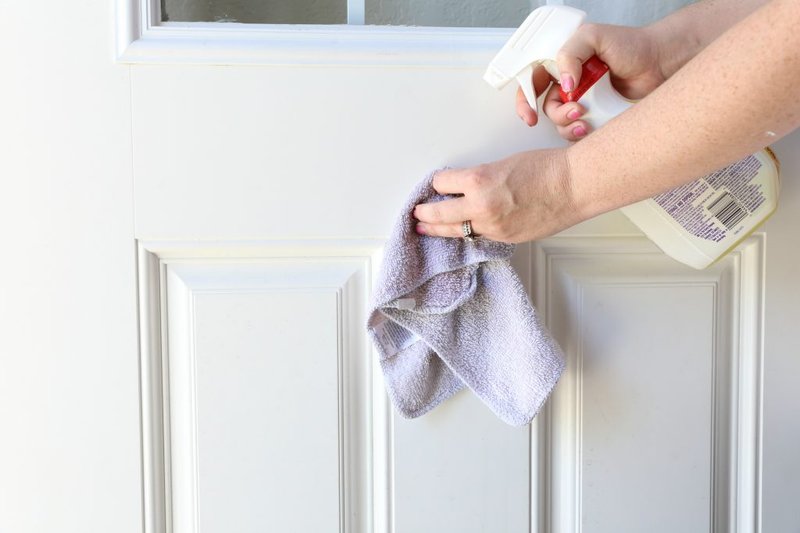
3. Scrub and Rinse
After soaking, take your soft cloth or toothbrush and scrub the hardware gently. Focus on any crevices or grooves where dirt tends to build up. Rinse each piece with clean water and dry it thoroughly with a soft cloth. It’s essential to ensure no moisture is left, as this can lead to rust, especially on metal parts.
Dealing with Stubborn Stains
Sometimes, even after a good soak and scrub, stubborn stains might remain. If that’s the case, here are a couple of tricks to try:
- Mineral Spirits: For metal hardware, applying a little mineral spirits with a cloth can help lift tougher grime. Just be sure to wear gloves and work in a well-ventilated area.
- Baking Soda Paste: Mix baking soda with a bit of water to form a paste. Apply it to the problem area, let it sit for a few minutes, then scrub and rinse off.
Always test any cleaner on a small area first to ensure it won’t damage the finish. A little precaution goes a long way!
Preparing for Painting
Now that your hardware is sparkling clean, it’s time to prep it for paint. Here’s how:
1. Drying Completely
Make sure all pieces are completely dry before applying any primer or paint. Moisture can mess with adhesion, leading to that dreaded peeling we want to avoid.
2. Masking Off Areas
Use masking tape to cover parts of the hardware that you don’t want to paint. This is especially important for knobs and locks where paint can gunk things up. Take your time here; neat edges will lead to a more polished look.
3. Priming (if needed)
Depending on the material of your hardware, you might want to apply a coat of primer first. For shiny metal surfaces, a primer will help the paint stick better. Follow the manufacturer’s instructions for the best results.
Choosing the Right Paint
Not all paints are created equal when it comes to door hardware. You might be tempted to grab any old can of paint, but here’s the thing: the best choice is typically a spray paint designed for metal. Spray paint provides an even coat and less chance of drips. Just remember to use it in a well-ventilated area.
If you prefer brush-on paint, look for water-based acrylic or oil-based enamel, especially if you’re after a durable finish. Make sure to read the labels for specific application instructions and drying times.
Final Touches
Once you’ve painted your hardware, let it dry completely according to the paint’s instructions. Depending on the type of paint, you might need to apply a second coat for full coverage. When you’re sure everything is dry, carefully remove the masking tape.
Finally, reattach the hardware to the door, making sure to align all pieces correctly. Tighten screws securely, but be careful not to overtighten, which can damage the hardware.
Cleaning and preparing your door hardware before painting may seem like a hassle, but the payoff is worth it. A little effort goes a long way in ensuring that your newly painted doors look great and that the hardware lasts for years.
So, the next time you plan a door refresh, don’t forget about its hardware. With the right cleaning techniques and preparation, your door will not only look stunning but also become an inviting feature in your home. Happy painting!