Now, before you grab your tools, let’s dive into the basics. Bifold doors are popular for closets and tight spaces because they fold in half, giving you easy access without taking up much room. The bottom pivot bracket is often the overlooked hero of this setup. If it’s worn out or broken, your doors might not slide properly, leaving you frustrated. Let’s get started on how to install a new bifold door bottom pivot bracket step-by-step!
Understanding the Tools You Need
Before you begin, having the right tools at your fingertips makes everything smoother. Here’s a list of essentials you’ll want for this project:
- Screwdriver: A flathead or Phillips screwdriver works, depending on your screws.
- Drill: If you need to create new holes or make adjustments, a drill will be helpful.
- Measuring Tape: Precision is key when you’re working with brackets.
- Pliers: They can help grip or turn screws or small parts.
- New Bottom Pivot Bracket: Make sure this matches the size and type of your door.
Having these items ready means you won’t have to pause partway through to hunt for a tool. Think of it like preparing for a cooking show; the better prepped you are, the smoother your project will go.
Removing the Old Bracket
Now that you have your tools ready, let’s focus on removing the old bottom pivot bracket. First, safety first! Make sure the bifold doors are closed and that you won’t accidentally pinch your fingers.
1. Identify the Bracket: Open the bifold door to locate the bottom pivot bracket. It’s generally positioned at the base where the door meets the floor.
2. Unscrew the Bracket: Using your screwdriver, carefully remove the screws holding the bracket in place. Keep one hand on the door to prevent it from swinging as you take out the screws.
3. Check for Damage: Once removed, take a look at the old bracket and the area around it. If you see any damage or wear, you might need to address that before proceeding.
Removing the old bracket can be like taking off a band-aid—once it’s done, you’ll be ready for the next step!
Installing the New Bottom Pivot Bracket
Time for the fun part: installing the new bottom pivot bracket! Here’s how you do it:
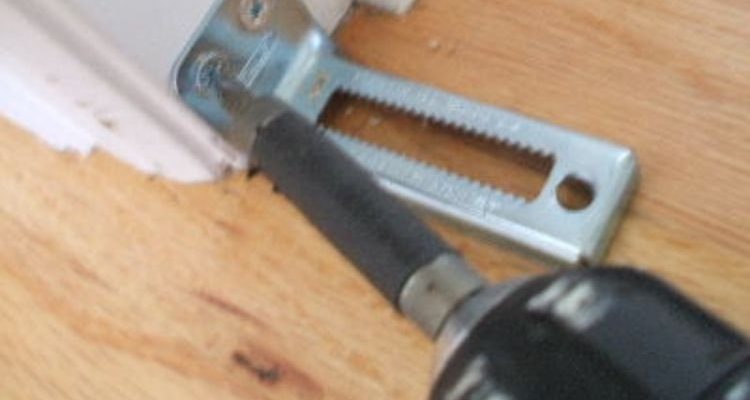
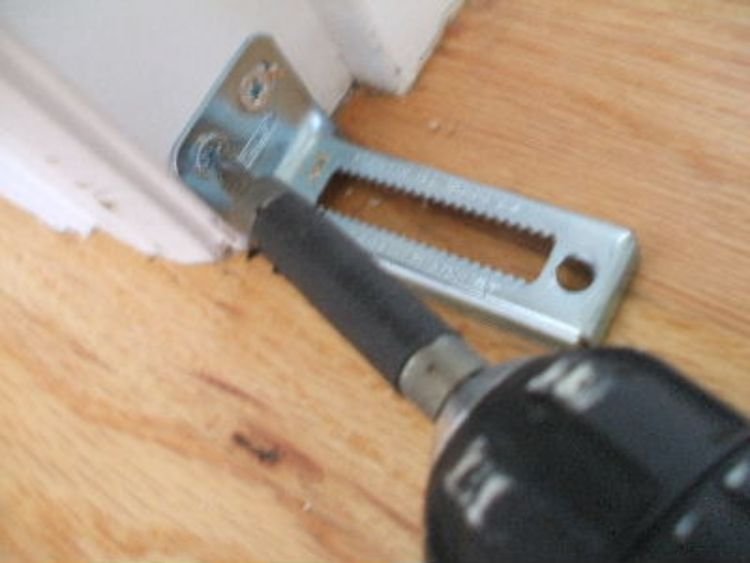
1. Position the New Bracket: Align the new bracket where the old one was. It should fit snugly in place without forcing it.
2. Secure the Bracket: Using your screwdriver, replace the screws you removed earlier. Make sure they’re tight, but don’t overdo it—you don’t want to strip the screws or damage the new bracket.
3. Check Alignment: Before closing the door, make sure everything lines up. The door should move smoothly when pushed slightly.
Installing the new bracket can feel like putting the final piece in a puzzle. When done right, it makes everything come together beautifully.
Adjusting the Pivot and Test Operation
After installing the new bracket, it’s time to get everything adjusted. Here’s how to ensure your bifold door moves fluidly:
1. Check the Pivot Position: The pivot should sit correctly in the new bracket. If it appears off, loosen the screws slightly and adjust its position.
2. Test the Door Movement: Gently pull the door open and close a few times. It should glide smoothly without dragging or making strange noises.
3. Fine-Tuning: If it sticks or makes noise, you might need to secure or adjust the pivot further. Sometimes a little tweak here and there makes all the difference.
You might be wondering why this matters. A properly functioning door not only looks great but also prevents potential damage and prolongs the lifespan of your bifold system.
Common Issues and Troubleshooting
Sometimes, things don’t go as planned, and that’s perfectly normal! Here are some common issues you might face and how to troubleshoot them:
– Door Won’t Close: If the door doesn’t shut completely, check if the bracket is aligned correctly. A simple adjustment usually solves the problem.
– Squeaky Noises: Lubricate the pivot points with silicone spray or WD-40 to silence annoying sounds. Just don’t overdo it; a little goes a long way!
– Bracket Damage: If your new bracket seems flimsy, ensure you bought the correct type. Sometimes, the fit matters more than you think.
Think of these troubleshooting tips as your safety net. It’s all part of the learning process!
Maintaining Your Bifold Door
Once you’ve installed your new bottom pivot bracket, keeping your bifold door in great shape is just as important as the installation itself. Here are some maintenance tips:
1. Regularly Check the Hardware: Periodically inspect screws and pivots for wear. Tighten anything loose before it becomes a bigger issue.
2. Clean the Tracks: Dust and debris can accumulate over time. Wiping down the tracks ensures smooth operation.
3. Lubricate When Necessary: If you notice any sticking, don’t hesitate to apply a little lubricant. It’s a quick fix that can prolong the life of your door and hardware.
Maintaining your bifold door doesn’t take much time. Just a few minutes every few months can keep everything running smoothly.
Congratulations! You’ve successfully installed a new bifold door bottom pivot bracket. It might seem like a small part, but it plays a huge role in your door’s functionality. Now that you know how to install it, you can tackle this task confidently.
Remember to keep an eye on your door’s performance and perform maintenance as needed. Doing so ensures it stays in good shape, saving you time and expense down the line. You might even impress friends and family with your newfound DIY skills! Happy sliding!