Before we dive in, let’s get familiar with what a top pivot bracket actually is. Think of it as the door’s hinge, but instead of swinging, it allows the door to slide open seamlessly. Whether it’s from a brand like Anderson or a generic model, the mechanics are pretty similar across the board. Replacing it can restore your closet’s functionality, making it feel like new again. So, let’s roll up those sleeves and get started!
What is a Top Pivot Bracket?
The top pivot bracket plays a crucial role in how your bifold doors function. As you might’ve guessed, it’s located at the top of the door frame and is responsible for supporting the door’s weight. When you pull the door, the bracket helps it move smoothly along its track. Over time, wear and tear can take a toll, leading to misaligned doors or noise that you’d rather not hear.
The bracket itself is usually made from sturdy metal or plastic, designed to last through years of use. However, just like any other part, it can suffer from issues due to daily wear, humidity, or accidental impacts. If you notice your doors aren’t gliding as they should, it’s a sign that something may be wrong with the pivot bracket.
Identifying the Problem
Before you rush into replacing the top pivot bracket, it’s essential to ensure that it’s indeed the culprit behind your bifold door issues. Here’s how to check:
- Inspect the Door Movement: Open and close the door a few times. Is it sticking, or does it wobble? These indicators often point to a faulty pivot bracket.
- Look for Visible Damage: Check the bracket itself. Is it cracked, bent, or missing? If so, you’ll need to replace it.
- Check the Alignment: Stand back and look at how the door hangs. If it’s noticeably tilted or off-kilter, the bracket may no longer be doing its job.
If your inspection reveals any of these signs, it’s time to gather your tools and get ready for replacement.
Gathering Your Tools and Materials
Before you start your project, ensure you have everything you need on hand. This will make the process smoother and less frustrating. Here’s a basic list to get you started:
- Screwdriver: Depending on your door, you might need a Phillips or flathead screwdriver.
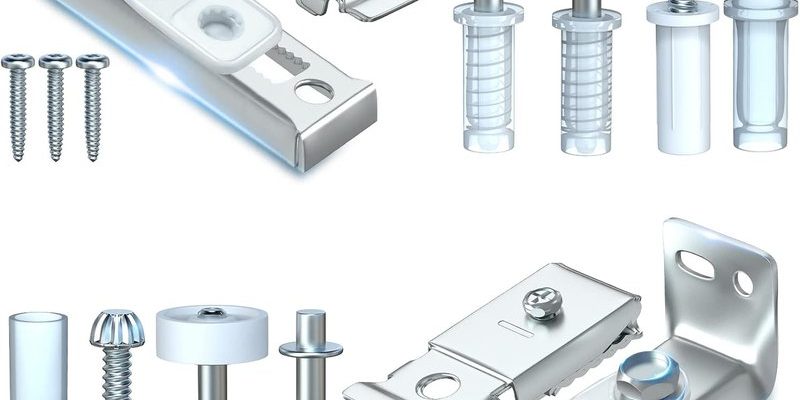
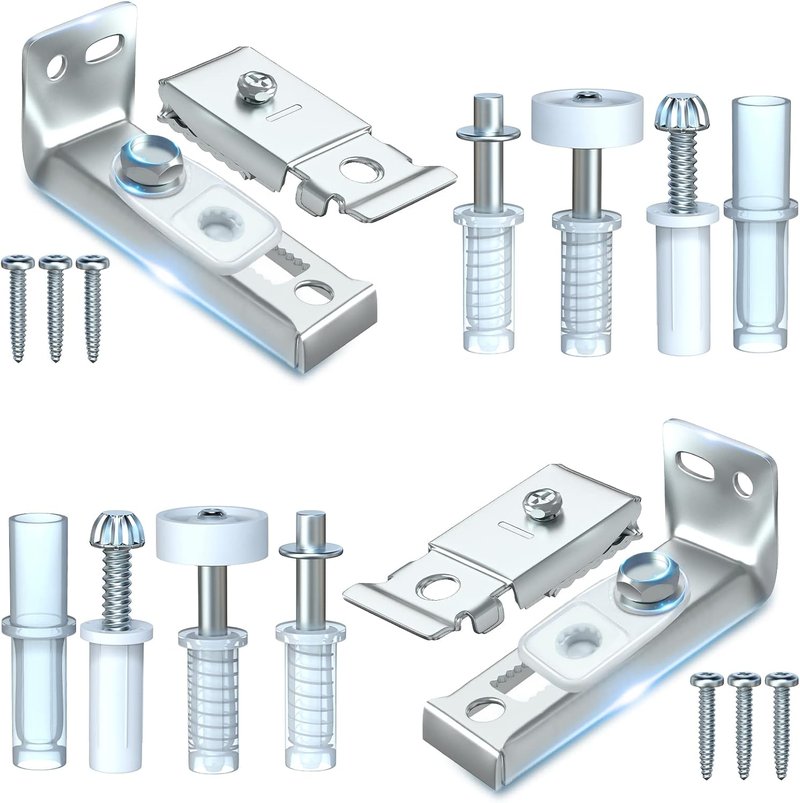
- Replacement Bracket: Make sure to get the right type for your specific door model.
- Stud Finder (optional): Useful if you need to locate screws in the wall.
- Level: To ensure the door is aligned properly after installation.
Having the right tools will make your life much easier. Trust me, there’s nothing worse than being halfway through a project and realizing you’re missing something essential!
Removing the Old Bracket
Now, onto the fun part—removing the old top pivot bracket. Here’s how you can do it step-by-step:
1. Open the Door: Fully open your bifold door to access the top pivot bracket easily.
2. Unscrew the Bracket: Use your screwdriver to remove the screws holding the bracket in place. It’s a good idea to hold onto these screws; you might need them for the new bracket.
3. Take Out the Bracket: Once the screws are removed, gently pull the old bracket away from the door frame. If it’s stuck, a little wiggling may help it come free. Be careful not to damage the surrounding area.
4. Inspect the Area: Check for any debris or damage in the area where the bracket was located. Cleaning this space ensures a better fit for your new bracket.
Removing the old bracket doesn’t have to be complicated; just be patient and methodical.
Installing the New Pivot Bracket
With the old bracket gone, it’s time to install your shiny new pivot bracket. Here’s how to do it right:
1. Position the New Bracket: Align the new bracket with the existing screw holes in the door frame. If you need to drill new holes, make sure they’re straight and level.
2. Secure it in Place: Reinsert the screws—don’t over-tighten, but make sure they’re snug. A loose bracket can lead to all sorts of problems down the line.
3. Check Alignment: With the level, ensure that the bracket is perfectly straight. This step is crucial for a smooth door operation.
4. Test the Door: Close the bifold door to see how it moves. If it’s smooth, you’ve done an excellent job! If not, you might need to make slight adjustments.
The installation phase is where your effort shines! A little attention to detail can make a world of difference.
Troubleshooting Common Issues
Even after installing a new top pivot bracket, you might still run into a few hiccups. Don’t worry; this isn’t uncommon. Here are a few common problems and their solutions:
- Door Won’t Close Completely: Check if the bracket is aligned properly. Adjusting it slightly can often solve the issue.
- Uneven Gaps: If there’s a noticeable gap at the top or bottom of the door, it might just need to be repositioned in the bracket.
- Noise During Operation: This could signal that the door isn’t rolling smoothly on the track. Look for debris or ensure the track itself is clean.
If you encounter a problem you can’t fix, consult the manufacturer’s instructions or a professional. Sometimes, a second opinion goes a long way.
Maintaining Your Bifold Door
Once you’ve replaced the top pivot bracket, it’s wise to keep your bifold doors in tip-top shape. A little maintenance can go a long way. Here are a few tips to help:
- Regular Cleaning: Dust and debris can accumulate in the track. Regularly clean this area to prevent sticking.
- Lubrication: A bit of lubricant on the pivot and track can keep everything moving smoothly. Just be sure to use a type that won’t attract dust.
- Periodically Check Alignment: Over time, doors can shift. Make it a habit to check that everything is still aligned and working as it should.
Maintaining your bifold doors doesn’t take a lot of time, but it definitely pays off in the long run.
Replacing the top pivot bracket on a bifold closet door might seem daunting at first, but it’s a pretty straightforward task. By taking it step-by-step, you can restore your door’s functionality without the need for a professional. Just remember to gather your tools, keep an eye out for alignment, and maintain your doors regularly.
With a little patience and effort, you can say goodbye to that sticky, wobbling door and hello to smooth operation once again. Happy fixing!