Picture this: you’ve got a project in mind, maybe building a bookshelf or hanging some shelves, and you want everything to look perfect. A measuring tape is your best friend in this scenario. Whether you’re grabbing a basic tape measure from the hardware store or something a bit more advanced, like a digital measuring tape, understanding how to use it accurately can make a huge difference in your results.
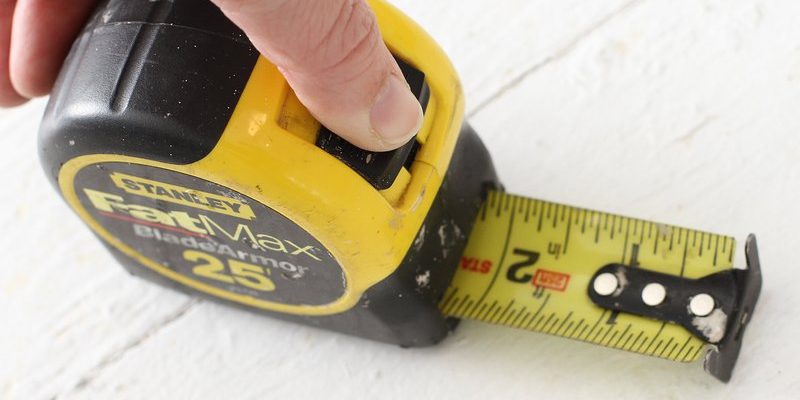
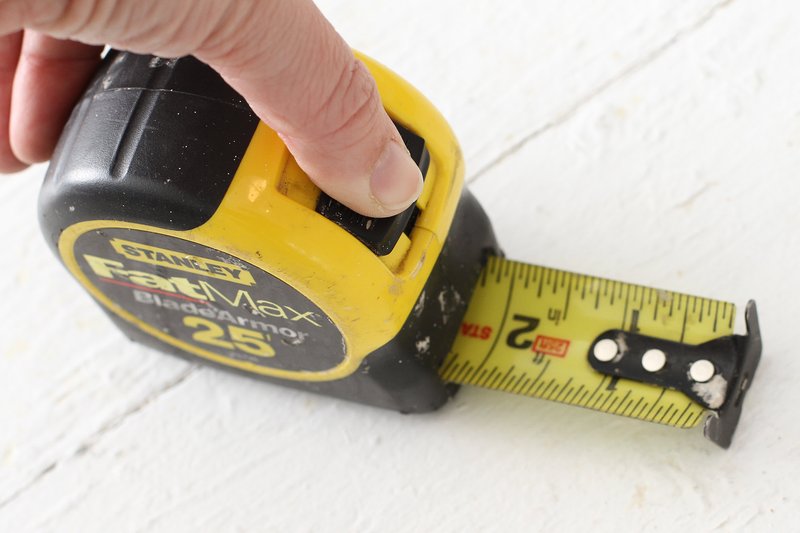
Understanding the Anatomy of a Measuring Tape
Before we dive into measuring techniques, let’s familiarize ourselves with the different parts of a measuring tape. This will help you understand how to read it properly.
– Blade: This is the long, flexible portion that has the measurements printed on it. Most tapes come in both metric (centimeters and meters) and imperial (inches and feet) systems.
– Hook: Located at the end of the blade, this metal piece hooks onto edges or can be used to push against the surface you are measuring from.
– Lock Mechanism: This feature allows you to hold the blade in place while you take your measurements.
– Case: The housing that holds everything together. Some cases are designed to withstand drops and rough handling.
When you understand these components, you’ll feel much more confident using your tape measure. Honestly, getting comfortable with the anatomy of your tool is like knowing your favorite coffee order—it makes everything smoother in the long run.
How to Measure with Accuracy
Now that you know what a measuring tape is made of, let’s talk about how to use it effectively.
1. Start at the Right Point: Always place the hook at the edge of the object you are measuring. If you’re measuring a flat surface, it’s best to take the measurement from the left side to avoid discrepancies. A common mistake is starting from the wrong point, which can lead to frustrating mistakes.
2. Extend the Tape Smoothly: Pull the blade out smoothly and avoid any bends or kinks. If the tape measure gets caught or twisted, it can throw off your reading. You might be wondering, “Why does this matter?” Well, a crooked measurement can mean the difference between fitting a shelf or needing to redo the whole project!
3. Use the Lock Feature: When you have your measurement, use the lock mechanism to hold the tape in place. This prevents it from retracting while you’re taking a second look or jotting it down. It’s like holding your coffee cup steady when you’re reaching for a donut—necessary for keeping things organized.
Common Measuring Mistakes to Avoid
Even seasoned DIYers can make mistakes when measuring. Here are a few pitfalls and how to avoid them.
– Forgetting to Account for the Hook: The hook on the end of the tape measure is designed to slide slightly to ensure you get an accurate measure, whether you’re measuring from the inside or outside of a surface. If you don’t consider this, your measurements could be off by a fraction, which may cause problems down the line.
– Not Measuring Twice: This age-old saying isn’t just a cliché; it’s a best practice. Always measure before cutting or gathering supplies. Taking the time to check your work can save you from buying extra materials or making costly errors.
– Ignoring the Small Prints: The smaller marks (like 1/16ths or 1/8ths of an inch) can be easy to overlook. But using these can give you infinitely more precision, especially if you’re working on something that requires exact fits, like cabinetry.
Using a Measuring Tape for Different Projects
Different projects may require different approaches when using a measuring tape. Let’s explore a few common scenarios.
– Installing Shelves: You’ll want to measure the desired height from the floor or the next shelf up. Make sure to measure each side to ensure the shelf will be level. It’s best to take the measurements with a helper if possible, just to confirm.
– Hanging Pictures or Artwork: The easiest way to hang a picture perfectly is to measure its center and then mark where you want the top corner to sit on the wall. This technique centers the artwork and avoids awkward eye-level placements.
– Building Furniture: When measuring for pieces like tables or benches, take multiple measurements across different points. Sometimes, surfaces aren’t perfectly straight, so measuring at various spots will give you a more comprehensive understanding.
Choosing the Right Measuring Tape
There are countless measuring tapes on the market, but which one should you choose? Here are some things to consider.
– Length: Most measuring tapes range from 12 feet to over 30 feet. For home use, a 25-foot tape is often more than enough. If you’re working on larger projects, consider a longer tape.
– Material and Durability: Some measuring tapes have a plastic casing, while others are metal. If you plan to use your tape in rugged conditions, go for something that offers a sturdy metal case and a durable blade.
– Additional Features: Some tapes come with extra features like built-in levels, which can be handy. Others may have a magnetic hook, which holds onto metal surfaces, freeing up a hand for more complicated tasks.
Taking Care of Your Measuring Tape
Just like any tool, proper care of your measuring tape will ensure it lasts longer. Here’s how to keep it in good shape:
– Clean the Blade: Dust and debris can build up on the blade, affecting its accuracy. Wipe it down with a damp cloth periodically.
– Store Properly: Avoid leaving your measuring tape in harsh environments, such as extreme heat or moisture. Keep it in a cool, dry place, ideally in a toolbox.
– Check for Damage: Regularly inspect the blade and hook for any signs of wear or damage. If you notice any issues, it might be time to replace your tape to ensure you can take precise measurements.
Final Thoughts
Using a measuring tape effectively is a valuable skill that will serve you well whether you’re tackling home improvements or just trying to organize your space. By understanding how it works, avoiding common errors, and taking care of your tool, you can ensure that your measurements are accurate every time. So, the next time you pull out your measuring tape, remember: a little care and attention can lead to fantastic results in all your projects.