Think of a door latch like a puzzle piece. If it’s not positioned correctly, it just won’t click into place. In this guide, we’ll walk through what to do when you find yourself grappling with a door latch that’s been installed incorrectly, whether you’re dealing with a standard lever or a keyless entry model. You’ll learn how to identify the issue and get it fixed without the stress.
Identifying the Problem with Your Door Latch
First things first, let’s pinpoint what’s actually going wrong. If your door latch isn’t catching or feels too loose, it’s likely misaligned. Here’s what you should look for:
- Is the latch not fitting into the strike plate? This happens when the latch is upside down. The latch won’t reach the plate properly, causing it to stick.
- Does it require extra force to open or close? If you’re struggling to turn the handle or push the button, it’s a sign something’s off.
- Are you seeing any visible gaps? Check for any spaces between the door and the frame. If you see daylight, your latch might not be seated correctly.
Checking these factors can help you confirm if the latch is upside down. Understanding the problem is key before diving into solutions.
Gathering Your Tools for the Fix
Once you’ve figured out that your door latch is indeed upside down, it’s time to gather the right tools to fix it. Luckily, you won’t need an entire toolbox. Here’s a quick list:
- Screwdriver: A Phillips or flathead, depending on the screws used.
- Measuring tape: To ensure precision when repositioning the latch.
- Level: This will help you set the latch correctly so it operates smoothly.
Having these tools on hand not only makes your job easier but can also save you from multiple trips back to the garage. You might be wondering, “Can I just use any screwdriver?” While you may be able to, having the right type will prevent stripping screws and making the job harder.
Removing the Latch: A Step-by-Step Guide
Now that you’re armed with tools, let’s go through the process of removing the latch. It’s like taking off a piece of clothing that’s a size too small—once it’s off, you can put on the right fit!
1. Unscrew the Latch: Use your screwdriver to carefully unscrew the latch from the door. Keep the screws in a small container so they don’t roll away.
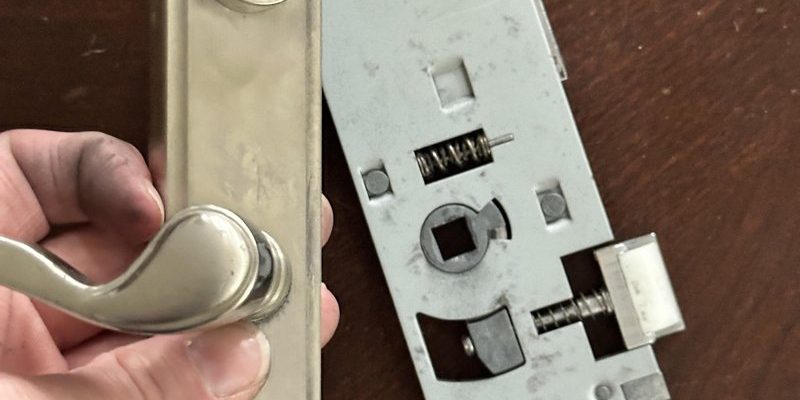
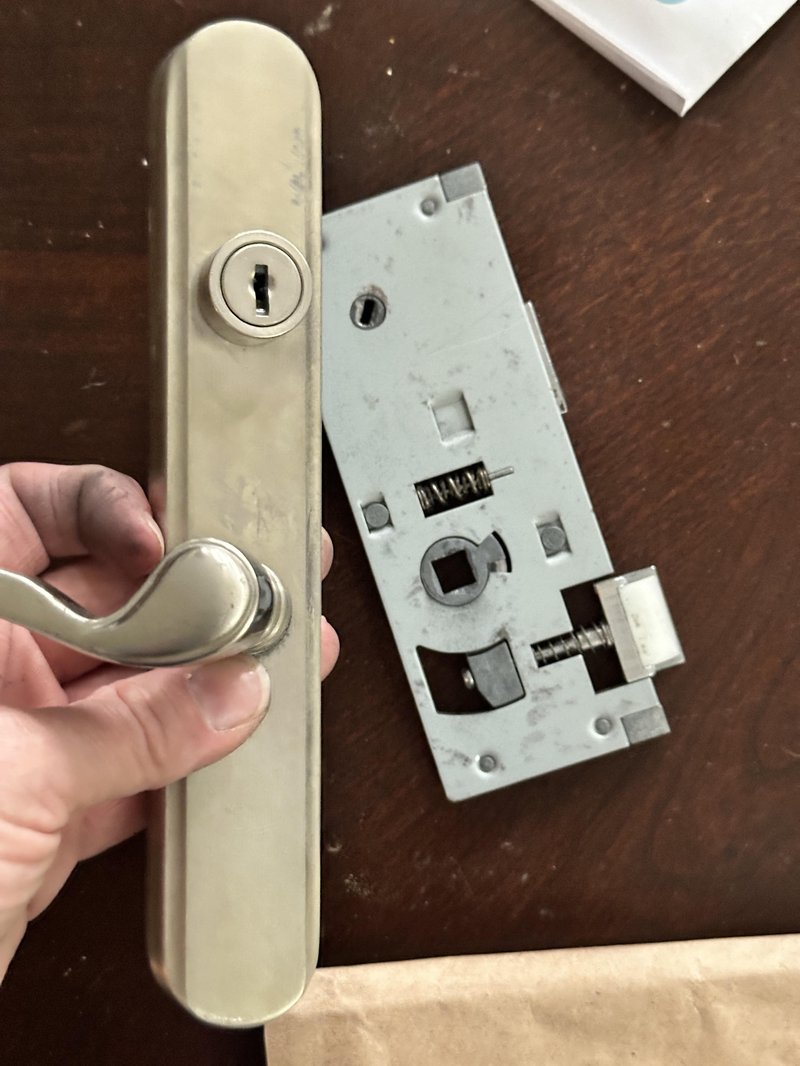
2. Take Out the Latch Mechanism: Once it’s unscrewed, gently pull the latch mechanism out from the door. Take a moment to see how it fits, as you’ll want to replicate this arrangement when reinstalling.
3. Check for Any Damage: As you’re removing the latch, look for any wear and tear. If something seems broken, you might want to consider replacing it.
Taking your time during this step helps you avoid unnecessary confusion later on. You wouldn’t want to rush through a puzzle and end up putting the pieces in the wrong spots.
Reinstalling the Latch Correctly
With the old latch out, it’s time to put in the new—or the same latch, but correctly! Here’s how to ensure it’s positioned right this time:
1. Align the Latch: Hold the latch up to the door and ensure the bolt is facing the right way. The latch should extend away from the door when it’s pushed.
2. Screw It In: Securely attach the latch back into place with the screws. Ensure it’s snug but not overly tight; you don’t want to strip the screws.
3. Test the Movement: Before closing the door completely, test the latch to see if it lines up with the strike plate. You might have to shimmy it a little if it’s still not right.
Reinstalling the latch properly is like following a recipe; you need to make sure each step is correct for it to turn out right.
Testing Your Door Latch
After you’ve reinstalled the latch, it’s time for the real moment of truth—testing! Here’s how to do it:
1. Close the Door: Swing the door closed gently and listen for that satisfying click. If it catches, you’ve done well.
2. Check for Movement: Open the door again. If it swings freely without resistance, the latch is working as it should.
3. Try Locking It: If your latch has a locking mechanism, lock and unlock it several times to ensure everything is functioning smoothly.
This step is crucial. Just like you wouldn’t go on a road trip without testing your brakes, you want to make sure your door latch operates perfectly before relying on it.
Common Issues After Reinstalling a Door Latch
Sometimes, even after you reinstall your door latch, things might not go as planned. Here are a couple of common issues you might encounter:
- Misalignment: If the latch still doesn’t catch the strike plate, revisit the alignment. You might need to shift the strike plate slightly.
- Sticking Mechanism: If the latch gets stuck, check for debris or see if anything is obstructing the moving parts. A little lubrication can sometimes work wonders.
When troubleshooting, don’t be discouraged by minor setbacks. Each hiccup can be a learning moment, helping you become more confident in your DIY skills.
Preventing Future Installation Mistakes
After going through this process, you might want to avoid this situation in the future. Here are some tips to ensure your door latches are always installed correctly:
1. Read the Instructions Carefully: Whether you’re doing it yourself or relying on a friend, make sure you both are clear on the installation steps before starting.
2. Take Your Time: Rushing can lead to mistakes. Give yourself plenty of time for any installation to ensure you get it right.
3. Practice on Another Door: If you have old door hardware lying around, practice on those first. It’s like training wheels for your door latch skills!
These preventative steps can save you time and frustration in the long run, making future installations smoother.
In conclusion, troubleshooting a door latch that was installed upside down isn’t just a task—it’s an opportunity to build your skills and knowledge. Whether you’re a DIY novice or just looking to fix a small hiccup in your home, these steps will help troubleshoot and resolve the issue confidently. Now that you know how to tackle this problem, you can approach your next home improvement project with a little more ease. Happy fixing!