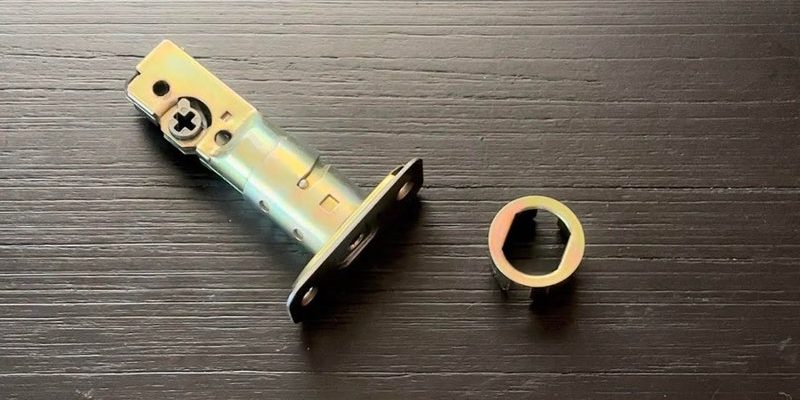
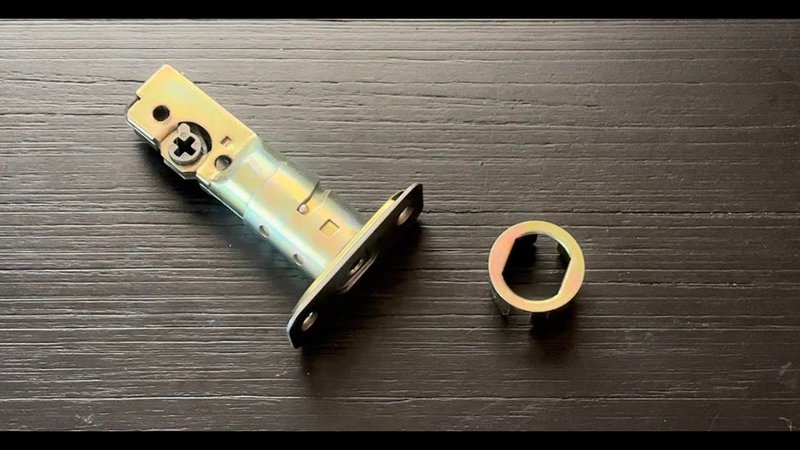
A drive-in latch is typically a little rounded piece that installs directly into the door without requiring a strike plate. On the other hand, a standard latch bore is more traditional, using a rectangular shape and requiring specific mounting space. Making this switch not only enhances your door’s functionality but also gives you more options when it comes to locks and latches. Let’s dive into how to convert that drive-in latch hole to a standard latch bore.
Understanding the Difference Between Drive-In and Standard Latch Holes
Before we jump into the conversion process, it’s crucial to understand what sets these two types apart. A drive-in latch hole is designed for a specific latch type that fits snugly without needing additional hardware, making it an easy install but somewhat limiting in terms of customization.
In contrast, a standard latch bore is designed to accommodate various latches and locks. It often features a rectangular cutout that fits larger, more secure locking mechanisms. You might be wondering why you’d want to switch. Well, if you’re looking to upgrade your door security or simply replace a malfunctioning latch, switching to a standard bore provides more options and generally better durability.
Here’s a simple analogy: think of the drive-in latch as a single-use cup—it serves its purpose well, but if you want to expand your drink options (or locks, in this case), you’ll need a versatile container. A standard bore is like a travel mug; it can hold different beverages and keep them secure.
Gathering Your Tools and Materials
Before you dive into this project, you’ll want to gather everything you need to make the transition as smooth as possible. Here’s what you’ll require:
- Chisel: Ideal for carving out the latch bore accurately.
- Drill: To create pilot holes for screws.
- Screwdriver: Needed to install the new latch.
- Measuring tape: Precision is key, so measure everything carefully.
- Wood filler: If your old latch hole leaves a gap, this will cover it up nicely.
It’s also wise to have a pencil handy for marking where you’ll need to chisel or drill. Having these tools at your side is like preparing for a hike; you wouldn’t venture out without a good pair of shoes and a map, right?
Measuring and Marking the New Location
With your tools ready, the next step is crucial: measuring and marking the new latch bore location. First, ensure your door is at a comfortable height for you to work, ideally at eye level. Then follow these steps:
1. Measure the Height: Most standard latches are installed about 36 inches from the floor. Measure from the bottom of the door to this point.
2. Mark the Center: Using your measuring tape, find the center of the door’s edge. This is where your latch will go.
3. Draw the Template: Use a pencil to sketch out the rectangle where the standard latch bore will fit. Typically, standard latch bores are about 2-1/8 inches in diameter, so take care to ensure your measurements are precise.
Remember, this step is like drawing the blueprints for a new house; everything relies on accurate measurements. If this part is off, the entire project can go sideways.
Chiseling Out the Latch Bore
Next up is chiseling out the latch bore. This step can be a little tricky, but with patience, you’ll get the hang of it. Here’s how to proceed:
1. Create Pilot Holes: Start by drilling a few pilot holes within the rectangular template you drew. These will act as a guide for your chisel and help prevent the wood from splitting.
2. Chisel the Shape: Using your chisel, carefully carve out the marked area. Work slowly—you want to create a clean cut. It helps to tap the chisel gently with a hammer to define the edges.
3. Check Fit Regularly: As you chisel, periodically check the fit with your new latch. It should slide into the bore snugly, without forcing it. Think of it like trying on shoes; you want it to feel just right.
Chiseling takes practice, so don’t rush this part. If it’s not perfect, you can always refine the edges, but taking your time will save you headaches later.
Installing the New Latch Mechanism
Once you’ve got the bore ready, it’s time to install the new latch. This part is where you’ll really see all your hard work pay off.
1. Position the Latch: Align the latch with the new hole, making sure the bolt extends properly.
2. Secure It: Using your screwdriver, secure the latch with screws. Be cautious not to overtighten, as this can strip the screws and weaken the latch’s hold.
3. Test the Mechanism: Before you close the door, test the latch. Make sure it’s locking and unlocking smoothly. It should feel like a well-oiled machine.
Putting in the new latch is like finally slipping on a well-fitted watch—it just feels right.
Finishing Touches: Repairing Old Holes and Gaps
Now that your latch is installed, you’ll want to take care of any leftover gaps from the old drive-in latch hole. This step might seem minor, but it’s essential for aesthetics and function.
1. Apply Wood Filler: If there are gaps around the old hole, this is where your wood filler comes in. Apply it smoothly, filling any voids.
2. Let It Dry: Give the filler some time to set. Check the packaging for the recommended drying time.
3. Sand Down Smooth: Once it’s dry, use sandpaper to smooth out the area until it’s flush with the rest of the door.
Think of this step as putting on the finishing touches to a painting; it completes the overall look.
Final Adjustments and Testing
With everything in place, it’s time to put it all to the test.
1. Close the Door: Make sure the door closes securely and that the latch engages when turned.
2. Adjust as Needed: If it doesn’t catch, check to ensure the latch is aligned properly. You may need to make minor adjustments to the screws.
3. Repeat Testing: Open and close the door multiple times to ensure everything works seamlessly.
This final check is like taking a nice test drive after putting in a new engine. You want to make sure everything runs smoothly before hitting the road.
Enjoying Your New Latch System
Congratulations! You’ve successfully converted a drive-in latch hole to a standard latch bore. With a little effort, you’ve enhanced your door’s security and functionality.
This improvement not only allows for a wider selection of locks but also can increase your home’s value. Just like updating your wardrobe with a stylish new jacket, having a modern latch system can make a big difference in your home’s overall appeal.
So, take a moment to admire your handiwork. You didn’t just change a latch; you upgraded your door’s functionality. Who knew a small project could lead to such a rewarding outcome?