Installing a concealed barrel hinge is more straightforward than it sounds, even for beginners. Picture it as piecing together a puzzle: each step leads you closer to the finished picture. Plus, with the right tools and a bit of patience, you’ll be amazed at how rewarding DIY projects can be. This guide will walk you through the process step by step, ensuring you have everything you need for a successful installation.
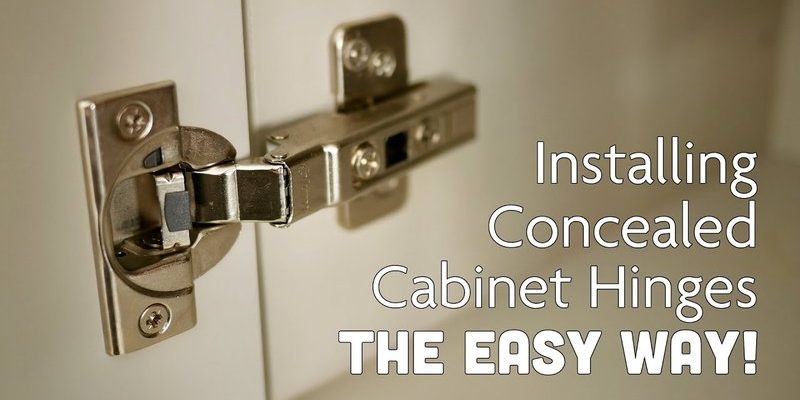
What Are Concealed Barrel Hinges?
Before diving into the installation process, let’s break down what a concealed barrel hinge actually is. Unlike traditional hinges that sit on the outside of your door, a concealed barrel hinge is hidden within the door and door frame. This makes it perfect for creating a clean, seamless look.
You might be wondering why someone would choose this type of hinge over the standard ones. Well, concealed hinges offer a few advantages:
- Design Appeal: They look more modern and can enhance the aesthetics of a room.
- Space Saving: Because they don’t protrude, concealed hinges are great for smaller spaces.
- Durability: Many are designed to withstand more wear and tear, making them long-lasting.
If you’re considering a hinge like this for your small interior door, you’re on the right path to creating a sleek look that doesn’t compromise functionality.
Tools and Materials You’ll Need
To get started with installing your concealed barrel hinge, you’ll need some basic tools and materials. Here’s a handy list to ensure you’re prepared:
- Concealed barrel hinges: Make sure you have the right size for your door.
- Drill: A power drill is essential for making the necessary holes.
- Chisel: This will help you carve out spaces for the hinges.
- Measuring tape: Accurate measurements are crucial for a smooth installation.
- Pencil: For marking your spots before making any cuts.
- Level: To ensure everything is straight.
Having these tools ready will help you breeze through the installation process. If you don’t have any of these items, you can often rent or borrow them from friends or local hardware stores.
Measuring and Marking for Installation
Getting the measurements right is one of the most crucial steps in the installation process. Start by determining where you want your hinges to go on both the door and the frame.
Here’s how to measure:
1. Decide the placement: Typically, hinges are installed about 7 inches from the top and 11 inches from the bottom of the door.
2. Mark the spots: Use your pencil to mark these positions clearly. Double-check your measurements to avoid mistakes.
3. Check for level: Use your level to ensure the marks are even. This small step can save you a lot of headaches later!
By taking your time at this stage, you’re setting yourself up for a smooth installation. Remember, measure twice, cut once!
Drilling the Holes
Now that you’ve marked your spots, it’s time to drill. This part might feel a bit daunting, especially if you’re not used to working with power tools, but it’s quite simple. Here’s how to tackle this step:
1. Choose the right drill bit: Most concealed barrel hinges will specify the size of the holes needed. Make sure you’ve got the right bit.
2. Position your drill: Align the drill bit with your marks. Hold the drill steady to ensure clean, straight holes.
3. Drill slowly: Start drilling at a low speed to maintain control. Once through the door, you can increase speed, but make sure to keep it steady.
It’s essential to keep a firm grip while drilling. If you feel unsure, practice drilling on a scrap piece of wood first. This helps you get comfortable with the tool and reduces the chances of errors.
Chiseling Out the Hinge Recesses
After drilling, you’ll need to create a recess for the hinges to sit in. This step allows the door to close properly without any gaps. Here’s how to go about it:
1. Use your chisel: Carefully chisel out the area around the holes you drilled. This should be deep enough to seat the hinge flush with the door surface.
2. Work slowly: Take your time to avoid removing too much material. It’s better to go slow and check repeatedly than to overdo it in one go.
3. Smooth the edges: Once you’ve created the recesses, use sandpaper to smooth the edges. This ensures a clean fit for the hinge.
Chiseling might seem tricky at first, but with a steady hand and a bit of practice, you’ll get the hang of it. The goal is to make sure that the hinge sits perfectly within the recess so that it’s hidden from view when the door is closed.
Installing the Concealed Barrel Hinges
Now that everything is prepped, it’s finally time to install the hinges. Here’s how to get them securely in place:
1. Align the hinge: Place your hinge into the recess you created. Ensure it’s positioned correctly, with the pivot point aligned with the drilled holes.
2. Secure it with screws: Using your drill or a screwdriver, attach the screws that came with your hinge. Make sure they’re snug but avoid over-tightening, which can strip the holes.
3. Repeat for the other hinge: Follow the same steps for the second hinge, aligning and securing it in the same way.
Getting these hinges installed might feel like the home stretch, but double-check your work. Make sure everything is aligned and operates smoothly before moving on.
Attaching the Door to the Frame
The final step is to attach the door to the frame. This part is pretty straightforward but requires a bit of finesse. Here’s what to do:
1. Lift the door into place: With help, if necessary, lift the door and align the hinges with the pre-drilled holes in the door frame.
2. Secure the hinges: Using screws, attach the hinges to the frame. Just like before, ensure everything is tight but not overly so.
3. Check the swing: Open and close the door a few times to ensure it operates smoothly. Adjust as needed to get the perfect swing.
You did it! Once everything is in place, and the door swings freely, you can step back and admire your handiwork.
Finishing Touches and Troubleshooting
After installing your concealed barrel hinge, you might want to consider a few finishing touches:
– Paint or stain: If your door needs it, touch up with paint or stain to match the rest of your decor.
– Check for alignment: If the door doesn’t seem to close properly, it might need minor adjustments. Loosen the screws slightly, adjust the door, and re-tighten.
If you run into any issues, like the door sticking or not closing fully, don’t panic. It’s usually a quick fix:
– Check the hinge placement: Make sure everything is lined up correctly.
– Inspect for obstructions: Sometimes, a door can catch on a trim or other features.
With a bit of patience, you can troubleshoot these common issues and ensure your door looks great.
Installing a concealed barrel hinge on a small interior door is a great way to enhance both functionality and style. With careful measurements, attention to detail, and a steady hand, you can transform your door into a sleek piece of craftsmanship.
Remember, practice makes perfect. The more you work with tools and DIY projects, the more comfortable you’ll become. And who knows? This simple project might just inspire you to tackle even bigger home improvements. So gather your tools, follow these steps, and enjoy the satisfaction of a job well done!