In this guide, I’m going to walk you through how to repair that latch bolt, making it easy and even a little fun. If you’ve ever tackled a home repair job before, you know it can be a bit like playing detective—you’re figuring out what went wrong and how to fix it. So grab your tools, and let’s jump into the steps for getting your door back in action!
What Is a Latch Bolt and Why It Matters
A latch bolt is a small but mighty mechanism that allows your door to close securely. When you turn the doorknob, the latch bolt retracts, letting you open the door. When you let go, the latch extends and locks in place. If it’s bent or damaged, the door might not close properly. This could expose your space to unwanted drafts or even intruders—yikes!
Think of it like the locking mechanism on a bicycle. If it’s jammed, you might as well leave your bike unlocked. The same goes for your interior door; the latch bolt’s job is to keep your privacy intact. Without it working properly, you might find yourself in a less-than-ideal situation.
Identifying the Problem
Before diving into the repair, it’s crucial to identify what’s actually wrong with the latch bolt. There are a few common issues you might experience:
- Bent Bolt: This often happens if the door is slammed or misaligned.
- Rust or Corrosion: Over time, moisture can lead to rust, making the bolt sticky.
- Misalignment: If the door frame or hinges are off, the bolt might not fit properly into the strike plate.
Grab a flashlight and take a closer look. Shine it at the bolt and see if you notice any physical damage. If the bolt is bent, you might notice it looking off-kilter compared to the rest of the door hardware. If it’s rusty, it will have a reddish-brown color and might feel rough to the touch.
Now, you might be wondering, “How do I know if it’s misaligned?” A simple test is to try to close the door slowly. If it sticks or doesn’t latch easily, then misalignment is likely the culprit.
Gathering Your Tools
Alright, before we get hands-on, let’s gather some tools. Having everything ready will make the process smoother. Here’s a quick list of what you’ll likely need:
- Screwdriver: Either a flathead or Phillips, depending on your screws.
- Pliers: For gripping and bending the bolt.
- Steel wool: Useful for removing rust.
- Lubricant: WD-40 or a similar product to help the bolt move freely.
- Replacement parts: In case the bolt is beyond repair.
Having these at hand will not only save time but also keep you from getting frustrated when you realize you’re missing something. Think of it as preparing for a mini adventure—having the right gear makes all the difference.
Repairing a Bent Latch Bolt
If you’ve determined that the latch bolt is bent, the good news is that it’s often fixable. Here’s how:
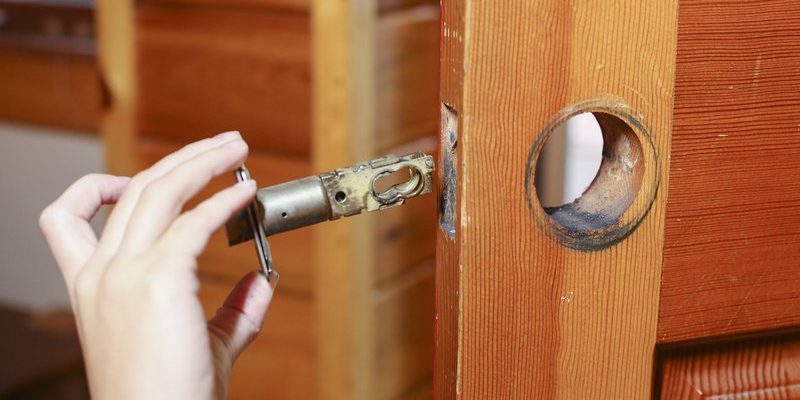
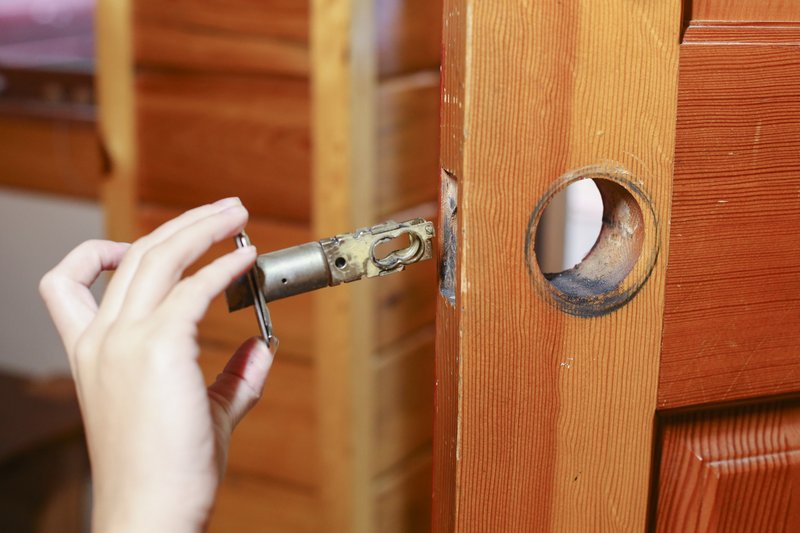
1. Remove the Latch: Use your screwdriver to take off the screws holding the latch in place. It’s typically located on the edge of the door.
2. Assess the Damage: Once removed, see how bent the bolt is. If it’s slightly bent, you can often straighten it out with pliers. Just grip it and gently bend it back into shape.
3. Test the Movement: After adjusting, try sliding the bolt in and out. It should move smoothly without sticking. If it still feels rough, you may need to use steel wool to clean off any rust.
4. Lubricate: A quick spray of lubricant will help the bolt glide effortlessly. Just a small amount will do—too much can attract dust and grime.
5. Reattach and Test: Once you’re satisfied with the bolt, put it back in place, tighten the screws, and give the door a good test. It should latch and unlatch smoothly now!
Fixing a Rusty Latch Bolt
Sometimes, it’s not about being bent—it’s about the wear and tear from moisture. If your latch bolt is rusty, here’s what you can do:
1. Remove the Latch: Again, take the latch off the door with your screwdriver.
2. Clean with Steel Wool: Gently scrub the rusted areas with steel wool. You’ll likely be surprised by how much better it looks afterward.
3. Rinse and Dry: After cleaning, rinse the bolt with water to remove any debris and dry it thoroughly.
4. Apply Lubricant: After cleaning, don’t skip this step! A little lubricant will keep the latch working smoothly and help prevent rust in the future.
5. Reinstall and Test: Just like before, put the latch back in place and test it out. If it moves freely, you’ve done a great job!
Addressing Misalignment Issues
If your latch bolt is fine but still won’t work, it might be misaligned. Here’s how to tackle that challenge:
1. Check the Hinges: Sometimes, the hinges might be loose. Tighten them with your screwdriver. This simple step can fix many alignment issues.
2. Adjust the Strike Plate: If tightening the hinges doesn’t help, look at the strike plate (the metal piece on the door frame that the latch goes into). If it’s misaligned, you might need to reposition it. Unscrew it, shift it slightly, and then screw it back in place.
3. Test the Fit: After repositioning, close your door to see if the latch now aligns properly with the strike plate. It should click into place without any fuss.
4. Consider Door Shimming: If your door is still misaligned, you might need to shim the hinges. This involves placing thin pieces of wood, called shims, between the hinge and the door frame. This can help adjust the height of the door.
When to Replace the Latch Bolt
Sometimes, despite your best efforts, the latch bolt just might not be salvageable. If it’s severely bent, broken, or so rusted that cleaning doesn’t help, it’s time for a replacement. Here’s how to do it:
1. Choose a Replacement: When selecting a new latch bolt, make sure it matches the size and style of your existing one. Most home improvement stores have a wide range.
2. Remove the Old Latch: Just like before, take out the screws and remove the damaged bolt.
3. Install the New Latch: Follow the manufacturer’s instructions and install the new latch bolt in reverse order of removal. Secure it tightly with screws.
4. Test It Out: Once installed, try closing the door. It should latch smoothly and easily!
Final Thoughts
Repairing a bent or damaged latch bolt on an interior door might seem daunting at first, but with a little patience and the right tools, it can be a straightforward task. Think of it as one of those mini home adventures; you gain a sense of accomplishment once you’ve tackled the challenge successfully!
Remember, whether it’s a minor adjustment or a full replacement, knowing how to handle door issues is a valuable skill. Plus, it saves you money on hiring a handyman for something you can do yourself. So keep that toolkit handy, and never hesitate to take on those DIY projects!