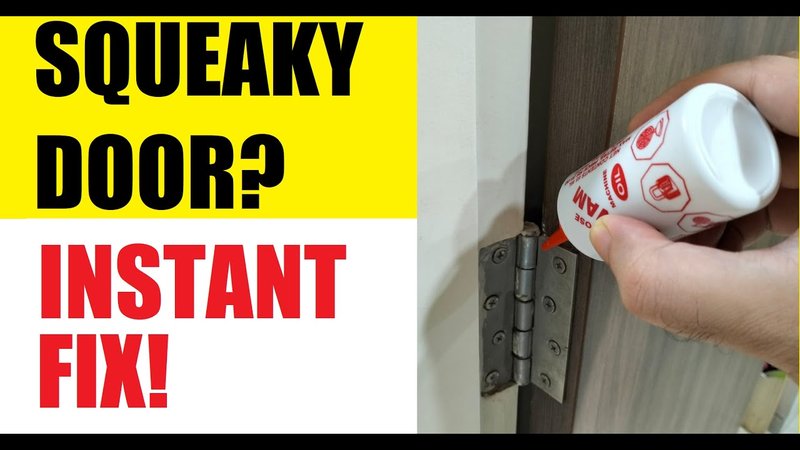
Let’s break this down. Door hinges are pretty simple mechanisms, and they usually respond well to a little TLC with some oil or grease. But when they keep screeching, it can leave you scratching your head. In this article, we’ll explore the common reasons behind a screeching door hinge even after lubrication, and I promise, by the end, you’ll know how to fix it (or at least, understand what’s going on).
Understanding How Door Hinges Work
Before diving into the reasons behind the screeching, let’s take a moment to understand how door hinges function. A door hinge is essentially a pivot point that allows your door to swing open and closed. Picture it like a seesaw; one side goes up, and the other goes down. The materials and design of a hinge can significantly affect its performance.
When you apply lubricant, it’s meant to create a barrier that reduces friction between the metal parts. Think of it as putting on a pair of socks before sliding on a hardwood floor. The socks help you glide smoothly instead of getting stuck. That’s what lubrication should do for your hinges—but sometimes, it doesn’t work as expected.
So, why does that screeching sound persist despite your best efforts? Let’s dig deeper.
Common Causes of Screeching Hinges
Several reasons might be behind a door hinge that continues to screech, even after you’ve generously applied lubricant. Here are a few common culprits:
- Insufficient Lubrication: Sometimes, it’s as simple as not using enough lubricant. A quick spray might not be sufficient to coat all the moving parts thoroughly.
- Incorrect Lubricant: Not all lubricants are created equal. Using a spray that’s too thin, like WD-40, might not provide lasting results. Look for heavy-duty lubricants designed for hinges.
- Dirty Hinges: Dirt and grime can accumulate on hinges over time. If you don’t clean the hinge before applying lubrication, you may trap dirt inside, leading to more screeching.
Let’s explore these in detail.
1. Insufficient Lubrication
If you’ve ever tried to fry an egg without enough oil, you know it sticks and burns. The same goes for door hinges. A little spray is often not enough; you need to ensure the lubricant penetrates well. This means applying it at the top of the hinge and letting it run down the sides.
Use a cloth to wipe away excess lubricant to avoid a slippery mess. A dripping hinge can also attract dirt, causing more problems later on.
2. Incorrect Lubricant
Not all lubricants serve the same purpose. For instance, while WD-40 is great for cleaning and quick fixes, it often evaporates quickly and doesn’t provide long-lasting lubrication. Instead, try using a silicone-based lubricant or a dedicated hinge lubricant, which can offer more longevity and performance.
You might be wondering why this matters. Well, just like using the right tool for a job, having the correct lubricant can mean the difference between a smooth swing and that annoying screech.
3. Dirty Hinges
Dirt and grime are the natural enemies of door hinges. If your hinges are cluttered with dust and old lubricant, any new lubricant you add won’t work effectively. Before you add anything new, take a moment to clean your hinges with a cloth or a toothbrush to remove any buildup.
This cleaning process can significantly improve how your hinge performs. You wouldn’t lather on moisturizer before washing your face, right? The same principle applies to door hinges!
Using the Right Lubrication Techniques
Now that we’ve covered the common issues, let’s explore how to apply lubricant correctly. Here are some steps to ensure you do it right:
1. Clean the Hinge: Start by cleaning the hinge thoroughly. Use a cloth or a small brush to remove dirt and debris. If needed, warm soapy water can help.
2. Select Your Lubricant: Choose an appropriate lubricant. Silicone-based sprays or grease are your best bet for long-lasting effects.
3. Apply Generously: Spray or apply the lubricant directly on the hinge. Be sure to cover all moving parts. You can even move the door back and forth to help distribute it evenly.
4. Wipe Off Excess: After a few moments, wipe off any excess lubricant. This keeps it from attracting dirt later.
Testing Your Hinges After Lubrication
After you’ve applied lubrication, it’s time to test how your hinge performs. Open and close the door multiple times to see if the screeching has stopped. If it has, great! But if it’s still there, don’t worry; we’ve got more troubleshooting to do.
If the sound persists, you might need to take a few extra steps. Sometimes, it could be that your door isn’t aligned properly, which can cause uneven pressure on the hinge. A misaligned door can lead to screeching, regardless of how much lubricant you apply.
When to Replace Your Hinges
Even with proper care, hinges can wear out over time. The metal might bend or chip, leading to persistent screeching. If this happens, it might be time to replace the hinge. Here are some signs that a replacement is in order:
- Visible Damage: If you see any cracks, bending, or rust, it’s time for new hinges.
- Constant Screeching: If you’ve tried everything else and the screeching continues, a new hinge might be the solution.
- Difficulty Opening or Closing: If your door is sticking or feels heavy, the hinges could be too worn to function properly.
Replacing a hinge can seem daunting, but it’s often a simple process. You just need a screwdriver and a replacement hinge, which you can usually find at any hardware store.
Final Thoughts
It’s frustrating when a task like lubricating a door hinge doesn’t yield the results you expect. But understanding the underlying causes of why your door hinge is screeching after lubrication can help you address the problem effectively. Whether it’s using the right amount of lubricant, cleaning debris, or even replacing the hinge, taking these steps will lead to a squeak-free door.
Next time you hear that screech, remember—you’re not just battling a stubborn door; you’re learning how to keep your home in top shape. So, roll up your sleeves and tackle those hinges. You’ve got this!
