So, if you’re thinking about swapping out those old hinges for shiny new ones, you’ll need the right tools to make the job easier. It’s crucial to have the right equipment on hand, especially if this is your first attempt at DIY home repairs. Just like a chef wouldn’t whip up a gourmet meal without their trusty knives, you won’t want to tackle hinge installation without the best tools.
Basic Tools You’ll Need for Hinge Installation
Before you dive into the specifics of hinge types and brands, let’s talk about the essential tools that will help you through the process. Whether you’re a seasoned DIY enthusiast or just getting your feet wet, having the right basic tools is key.
Screwdriver: A good-quality screwdriver is non-negotiable. You’ll actually need both a Phillips head and a flathead screwdriver. The Phillips head fits the screws used in most door hinges, while a flathead can come in handy for prying or adjusting things.
Drill: If you’re upgrading to new hinges, a drill is essential. It allows for accurate hole placement and is much faster than using a manual screwdriver. Look for one with a variety of drill bits, including a countersink bit to create a clean finish on your hinge installation.
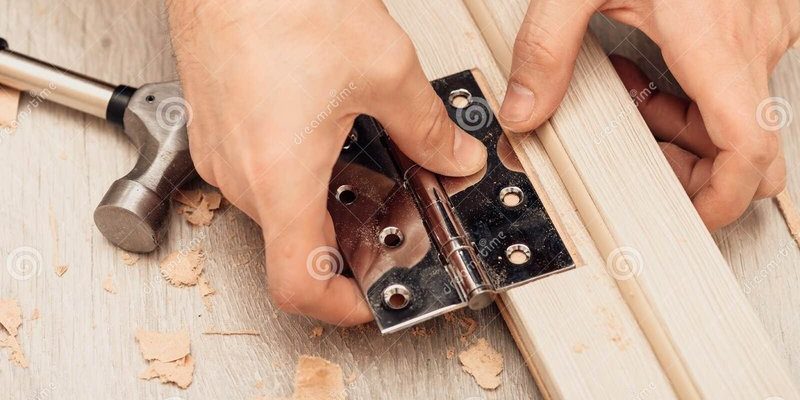
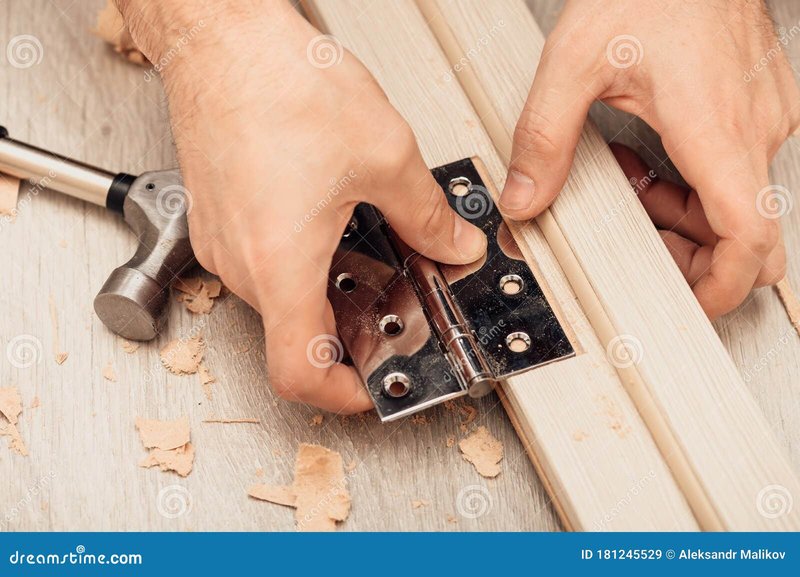
Hammer and Chisel: These might seem like tools from a bygone era, but a hammer and chisel are invaluable for adjusting the mortise—a cut-out area in the door frame where the hinge sits. Sometimes, those mortises need a little tweaking, and a hammer and chisel make it easy to get that perfect fit.
Specialized Tools for Precision and Ease
Once you’ve got the basics covered, you might consider investing in some specialized tools that can make the job even easier. While these aren’t absolutely necessary, they can save you time and frustration, especially if you plan to do multiple installations.
Hinge Template Tool: This nifty tool helps you mark the exact spots for your hinge installation. It eliminates the guesswork and ensures everything lines up perfectly. Some templates even come with built-in levels, giving you that extra assurance that your hinges will be straight.
Power Screwdriver: A power screwdriver can make quick work of installing new hinges. It’s especially helpful when you have multiple sets to install. You’ll love how quickly you can get your doors back on their frames without tiring out your wrists.
Wood Clamps: These are helpful for holding the door in place while you work. It’s like having an extra pair of hands. Secure the door against a wall or work surface, so it doesn’t wobble while you’re tightening the screws.
Choosing the Right Type of Hinge
Now that you’ve got your tools ready, it’s essential to think about what type of hinge you’ll be using. Not all hinges are created equal. You have your standard butt hinges—the ones you’re probably most familiar with—but there are also other options.
Butt Hinges: These are the most common for residential doors. They’re usually made of metal and come in various finishes. They work well for most situations and are easy to install with the tools we’ve discussed.
Continuous Hinges: Also known as piano hinges, these run the full length of the door. They’re typically used on larger doors or commercial applications and provide better support. Installing these might require some extra care, but the result is a seamless look.
Spring Hinges: These are perfect for doors that need to close automatically, like bathroom or closet doors. If you want more functionality without an extra door closer, these are worth considering. Just keep in mind that they may need a bit more finesse during installation.
Tips for Efficient Installation
Installing hinges may sound straightforward, but a few extra tips can make the process smoother and more pleasant. Here are some pointers to keep in mind as you go about this task.
Prep Your Work Area: Before starting, clear out your workspace and make sure you have good lighting. You’ll want to easily see what you’re doing, especially when drilling and aligning the hinges. Consider getting a drop cloth to protect your floors, too.
Double-Check Measurements: Mistakes happen, especially under pressure. Always double-check your measurements before you drill any holes. It’s better to take that extra minute to ensure everything aligns correctly than to deal with fixing a misaligned door later on.
Take Your Time: It’s easy to rush through a project, especially if you’re excited to see the results. But taking your time will yield better results. Make sure screws are tightened evenly to avoid any unnecessary stress on the hinge.
Common Problems You Might Encounter
Every DIY project can have hiccups along the way. Being aware of common issues can help you troubleshoot without losing your cool. Here are a few headaches you might face while installing or replacing door hinges.
Misaligned Hinges: If the door doesn’t close properly or rubs against the frame, it might have misaligned hinges. Check to make sure the screws are tightly fastened and that the hinge is set properly into the mortise. A chisel can help adjust any rough edges.
Broken Screws: Sometimes, screws can strip or break, especially if you’re dealing with old hinges. If you encounter this, use a screw extractor to remove the broken screw, and consider using a larger screw to fill the stripped hole.
Noise Issues: If your new hinges squeak after installation, don’t fret. It’s a common problem that can often be fixed easily. Just apply a couple of drops of lubricant, like silicone spray or even cooking oil, onto the hinges. Swing the door back and forth a few times to distribute the oil.
Installing or replacing door hinges is a practical skill that can make a significant difference in your home’s functionality. With the right tools in hand and the knowledge of what to look out for, you can tackle this project with confidence. Whether you opt for butt hinges or a more specialized type, remember that the goal is to ensure your doors swing open and shut smoothly.
So, gather those tools, prepare your workspace, and take your time with the process. Before you know it, you’ll have doors that not only look great but work just as well. Happy DIY-ing!