Spring hinges come in various designs and sizes, so it’s important to choose the right type for your door. For this guide, we’ll focus on the well-known Plyco Spring Hinges. They are durable, reliable, and perfect for both residential and commercial spaces. Let’s break down the steps to install them so you can enjoy the convenience of an automatic door closure without a hitch.
Understanding Spring Hinges
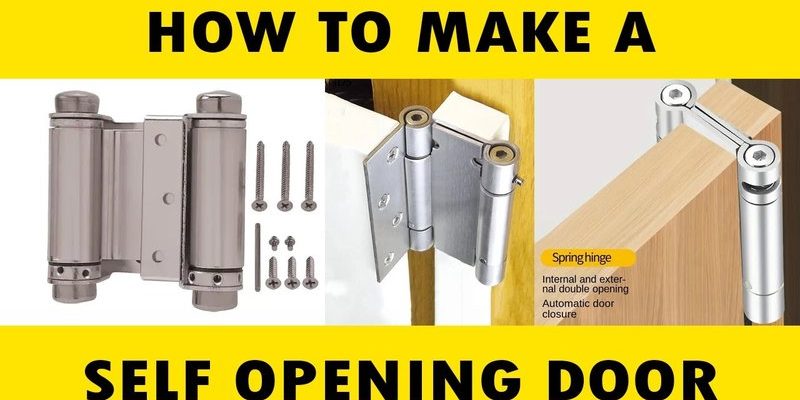
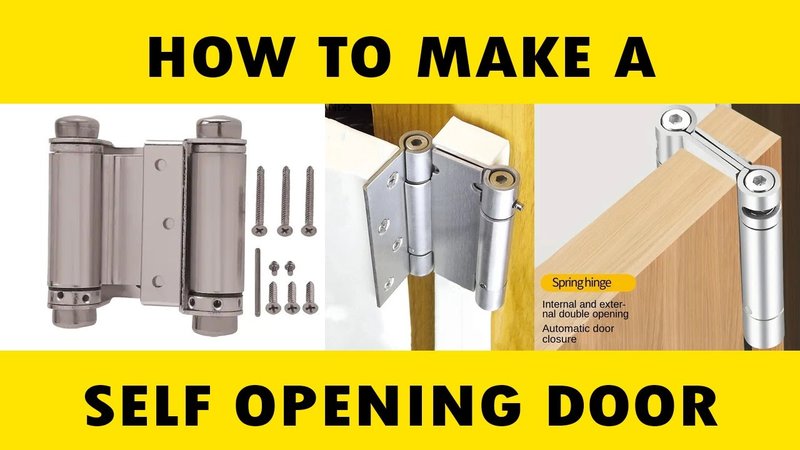
Before diving into the installation process, it’s essential to grasp what spring hinges are and how they work. Think of spring hinges as a clever combination of a regular hinge and a spring mechanism. This means they not only allow the door to swing open and closed but also automatically pull it shut after you pass through.
These hinges are designed to maintain tension, which means they can help doors close securely without slamming. They come in various tension settings, making them customizable depending on the weight of your door and the speed at which you want it to close.
You might be asking: why would I need automatic door closures? Well, they can enhance security by ensuring doors close behind you. They can also improve energy efficiency, keeping the climate-controlled air inside your home or office. Plus, they make life easier—no more pushing or pulling to close a door.
Tools and Materials You’ll Need
To install your new spring hinges, you’ll need a few tools and materials ready. Having everything on hand before starting will save you time and frustration. Here’s what you’ll typically need:
- Spring hinges (the number depends on your door configuration)
- Screwdriver (flathead and Phillips, depending on your screws)
- Drill (if you’re replacing hinges or need to make new holes)
- Level (to ensure your door is straight)
- Tape measure (to measure hinge placement accurately)
- Pencil (for marking drill points)
- Safety goggles (to protect your eyes while you work)
Gathering these tools before you begin can make a world of difference. You don’t want to get halfway through and realize you need to run for a screwdriver. Trust me on this one!
Removing the Old Hinges
If you’re replacing existing hinges, the first step is to remove them. Here’s how:
1. Remove the door (optional): It might be easier to install new hinges if you take the door off the frame. To do this, simply remove the screws from the old hinges using your screwdriver. If the door is heavy, consider getting help to lift it off.
2. Unscrew the old hinges: Use your screwdriver to take out the screws from each hinge. Keep these screws as you may need them for the new hinges.
3. Check the hinge plates: Inspect the hinge plates that will remain on the door and frame. If they are damaged, consider replacing them too for a smoother operation.
Once the old hinges are off, it’s time to get your new spring hinges ready for installation.
Installing the New Spring Hinges
Now comes the exciting part: installing those shiny new spring hinges! Here’s a step-by-step guide you can follow:
1. Position the hinge: Place the new spring hinge on the door where the old hinge was. Make sure it’s aligned correctly with the edge of the door and sits properly on the hinge plate.
2. Mark the screw holes: Using your pencil, mark where the screws will go. This will help you drill accurately.
3. Drill pilot holes: If your door is made of a hard material, it’s a good idea to drill pilot holes for the screws. This prevents the wood from splitting and makes screwing in the new hinges easier.
4. Secure the hinge: Start by screwing in the top screw of the hinge. Use the level to make sure the hinge is perfectly vertical. Then, insert the remaining screws, one at a time, ensuring everything stays aligned.
5. Repeat on the frame: Do the same for the hinge on the door frame. Make sure it lines up with the hinge on the door itself.
6. Adjust the tension: Most spring hinges allow you to adjust the tension by turning a screw. Test the door to see if it closes quickly or slowly, and adjust until you find the right speed.
Once everything is securely in place, it’s time to check the door’s functionality.
Testing the Door Closure
After installing the spring hinges, testing them is crucial. Here’s how to do it:
1. Open the door slowly: Gently pull the door open and let it go. Observe how quickly it closes—this is where your tension adjustment comes into play.
2. Listen for sounds: A properly installed spring hinge should operate quietly. If you hear squeaking or grinding, it might indicate misalignment or a need for lubrication.
3. Check the alignment: Ensure the door closes flush against the frame without gaps. If you notice any misalignment, loosen the screws slightly, realign, and retighten.
If everything feels good, congratulations! You’ve successfully installed your spring hinges for automatic door closure.
Troubleshooting Common Issues
Sometimes, despite your best efforts, things can go awry. Here are a few common problems and how to fix them:
– Door slams shut: If the door closes too quickly and slams, try reducing the tension by adjusting the screw. A little goes a long way here!
– Door won’t stay closed: If your door isn’t closing all the way, check the alignment. It might need to be tightened or adjusted slightly.
– Squeaky hinges: If you hear squeaking, it may be time to apply some lubricant. A silicone spray works well for spring hinges and can reduce noise and friction.
– Hinge misalignment: If your hinge seems off, loosening and repositioning the hinge can often fix the issue. Just be sure to realign it properly before tightening the screws.
Benefits of Spring Hinges for Automatic Door Closures
You might be wondering why spring hinges are worth the effort. Here are some key advantages:
– Convenience: Having doors that close automatically means fewer things to worry about. You can walk in and out without a second thought.
– Safety: Keeping doors closed can protect children and pets from wandering outside and ensure privacy.
– Energy efficiency: Automatic closures help maintain your indoor climate, which can save on heating and cooling costs.
– Versatility: Spring hinges come in various styles, making them suitable for different door types—interior or exterior.
These benefits add up quickly, making spring hinges a worthwhile investment for your home or office.
In summary, installing spring hinges for automatic door closure is an achievable DIY project. With the right tools, a little time, and these steps, you can enhance your space’s functionality and convenience. So grab your tools, put on your confident hat, and get going! You’ll enjoy the perks of your hard work for years to come.