
Understanding the Difference Between Passage and Privacy Knobs
Before we dig into the conversion process, it’s helpful to understand what makes these knobs different. A passage knob is designed for doors that are frequently opened and closed, like closets or hallways. It allows free entry and exit but doesn’t have a locking mechanism. Think of it as a friendly doorman that lets everyone in with no fuss.
In contrast, a privacy knob includes a locking feature. Imagine stepping into your bathroom during a busy morning: the privacy knob lets you secure your space when needed. These knobs often have a simple push-button or turn mechanism, adding that layer of comfort for personal areas.
Assessing Your Current Knob Setup
Now that you know the difference, let’s assess your current knob setup. You’ll need to take a close look at your passage knob and its installation. Here’s what to check:
- Type of Door: Is it a hollow-core or solid door? This can affect how you install a new knob.
- Existing Hardware: Look at the current screws, mounting plate, and the overall condition of your knob. Do they look salvageable?
- Space for a Lock: Ensure there’s room on the door for a locking mechanism. Some doors have limited space that might not accommodate the new knob.
Understanding these factors will help you decide if a conversion is practical. If your current setup looks good and you have the space, you’re on the right track!
Gathering the Necessary Tools and Materials
Once you’ve assessed your knob setup, it’s time to gather your tools. Having everything in one place makes the process smoother and more enjoyable. Here’s a straightforward list of what you’ll need:
- Privacy Knob Kit: Purchase a privacy knob that is compatible with your door.
- Screwdriver: A basic screwdriver (flathead or Phillips, depending on your screws).
- Measuring Tape: To ensure a proper fit for your new knob.
- Drill (optional): If modifications are needed, a drill can make the job easier.
Having the right tools will save you frustration during the installation. It’s like preparing for a road trip—you wouldn’t leave without snacks and music, right?
Removing the Passage Knob
With your tools ready, let’s move on to removing the passage knob. Don’t worry; this isn’t rocket science! Follow these steps to make it easy:
1. Unscrew the Knob: Using your screwdriver, take out the screws holding the passage knob in place. Keep these screws, as you might need them for the new knob.
2. Take Out the Knob: Once unscrewed, gently pull the knob away from the door. It should come off easily, but sometimes it may stick a bit.
3. Remove the Latch Mechanism: Look inside the door for the latch mechanism and unscrew that too. This part is usually held in place by screws and can slide right out once unscrewed.
Removing the passage knob can feel almost like taking a bandage off—quick and painless!
Installing the Privacy Knob
Now it’s time for the fun part: installing your new privacy knob. Think of it as putting on a new outfit that just fits better. Here’s how to do it:
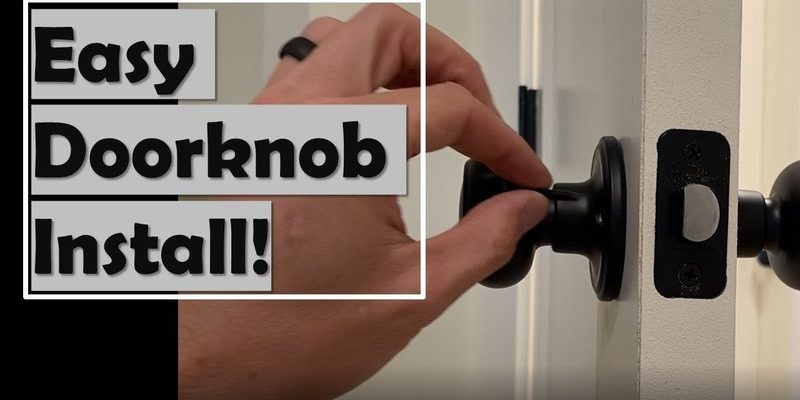
1. Insert the Latch Mechanism: Place the new latch mechanism into the door hole. Make sure it’s aligned properly, as this determines how smoothly the knob will function.
2. Screw in the Latch: Secure the latch in place by tightening the screws. Don’t go overboard; you want it snug but not too tight that you risk damaging the door.
3. Attach the Privacy Knob: Finally, attach the new privacy knob. Follow the manufacturer’s instructions, as each model might have slight variations in how it attaches.
Simply put, think of this step like adding the final touch to a cake—the icing on the top makes all the difference!
Testing Your New Privacy Functionality
After installation, testing is crucial. You don’t want surprises when you’re trying to enjoy your newfound privacy, right? Here’s how to check everything is working:
1. Lock and Unlock: Try locking and unlocking the knob multiple times to ensure smooth operation. Pay attention to whether the lock catches properly.
2. Check for Sticking: Gently turn the knob to see if it moves without sticking. A smooth action means everything is working correctly.
3. Adjust as Necessary: If you notice any issues, you might need to unscrew and reposition the latch mechanism or the knob itself.
This testing phase is your way of giving a thumbs-up to your hard work. If everything feels good, congratulations—you’re done!
Common Issues and Troubleshooting
Sometimes, even with the best intentions, things don’t always go smoothly. Here are some common problems you might face during your conversion:
- Knob Doesn’t Lock: If the knob doesn’t engage the lock, check if the latch mechanism is aligned properly.
- Knob is Stiff: If it feels hard to turn, there might be misalignment. Loosen the screws slightly and adjust.
- Lock Button Gets Stuck: Dust or debris might be trapped. Cleaning around the lock and the button usually helps.
Look at these issues as minor bumps in the road. With a little troubleshooting, you can usually resolve them easily.
Converting a passage knob to a privacy knob can be a rewarding DIY project. You’ve transformed your door to fit your needs better, making your space more comfortable. Now, whether you’re enjoying a quick shower or curling up with a book, you’ll know you have a bit of privacy when you need it.
So, if you’re ever feeling uncertain about tackling the next DIY project, remember this experience! With a bit of patience and the right tools, you can handle various home adjustments with confidence. Happy decorating!