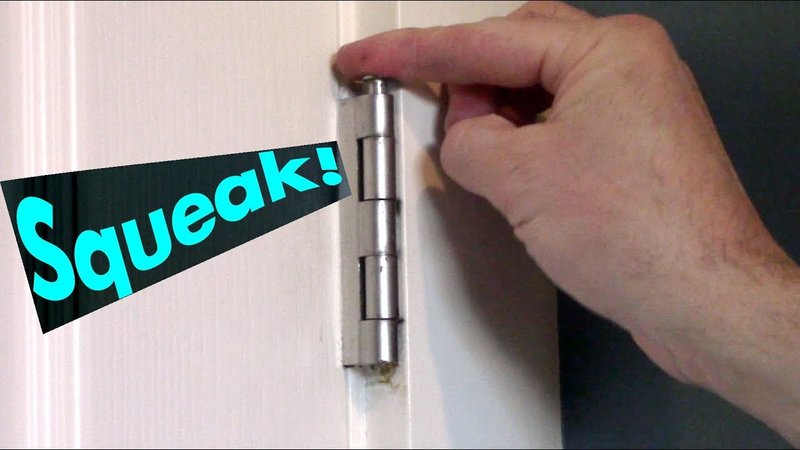
Let me explain what causes that irritating squeak. Typically, it’s due to friction between the metal of the hinge and the door or frame. Over time, dust, grime, and lack of lubrication can make those parts rub against each other, producing that familiar creaky sound. Think of it like a rusty bike chain; without proper oil, it can’t move smoothly. So, if you’re ready to banish that squeak, let’s dive into the steps you need to take to fix a squeaky interior door hinge permanently.
Gather Your Tools and Materials
Before you start your DIY adventure, you’ll need to gather a few essential tools and materials. Having everything at your fingertips will make the process smoother and quicker. Here’s a simple checklist:
- Screwdriver (Phillips or flathead) – Depending on the screws of your hinges.
- Lubricant – WD-40, silicone spray, or even olive oil in a pinch.
- Clean cloth – For wiping away dust and excess lubricant.
- Replacement hinges (optional) – If your hinges are beyond repair.
Having a plan is key, and knowing what tools to use makes the whole process less daunting. You might be thinking, “How long will this take?” Well, the beauty of it is that you can often fix a squeaky door hinge in under 15 minutes if you have everything ready.
Identify the Source of the Squeak
Before slathering on lubricant, it’s crucial to pinpoint where the squeak is coming from. Is it the top hinge, the bottom one, or maybe both? Here’s a simple test: open and close the door slowly while listening carefully. The source of the squeak should become clear.
Once you identify the hinges causing problems, take a closer look at them. Are they rusty, dry, or just dirty? Understanding the condition of your hinges helps you decide whether you need a simple lubrication or if it’s time to replace them entirely. For example, if you notice rust, it could mean your hinge is aging and may need a swap instead of simple maintenance.
Remove the Hinge Pin
To get to the heart of the problem, you’ll need to remove the hinge from the door. This means taking out the hinge pin, which holds everything together. Here’s how to do it step by step:
1. Open the door fully so you can access the hinges easily.
2. Use your screwdriver to remove the screws from the hinge. If you’re dealing with old screws, they might be tricky. A little coaxing can help.
3. Once the screws are out, gently tap the hinge pin upwards using the screwdriver or a hammer. Be sure not to damage the hinge in the process.
Removing the hinge pin will expose the inner workings, allowing you to see if there’s dirt or rust buildup that needs addressing. Plus, it makes applying lubricant much easier.
Clean the Hinge and Pin
Now that you’ve got the hinge off, it’s time to give it a good cleaning. You might be surprised at how much dust and grime can accumulate in such a small space. Here’s what to do:
– Wipe down the hinge with a clean cloth to remove any surface dirt.
– For tougher grime, use a little bit of soap and water, then dry it off completely. Make sure not to leave any moisture.
– Pay special attention to the hinge pin as well. If you notice rust, you may want to use some fine-grit sandpaper or a wire brush to get it smooth again.
Cleaning doesn’t just help with the squeak; it also prolongs the life of your hinges. It’s like giving them a little spa day to keep them in tip-top shape!
Apply Lubricant Generously
Once everything is clean, it’s time for the fun part—adding lubricant. This step is crucial because it’ll create a protective barrier that reduces friction and keeps the squeak at bay. Here’s how to do it properly:
1. Shake the lubricant can (if using spray) to ensure it mixes well.
2. Apply lubricant to both the hinge and the hinge pin. Focus on the areas where metal meets metal.
3. Once you’ve applied it, give the hinge a few swings back and forth. This action helps the lubricant penetrate the moving parts, spreading it evenly.
If you’re using a lubricant like WD-40, it should dry clear and won’t attract dust. However, if you go with something like olive oil, you may need to reapply more often, as it can attract dirt.
Reassemble the Hinge
Everything should be all cleaned up and lubricated, so it’s time to put the hinge back together. It’s like reassembling a puzzle; just a few simple steps will have your door back in action. Here’s how:
1. Line up the hinge on the door frame and door.
2. Carefully insert the hinge pin back into the hinge while supporting the door.
3. Replace and tighten the screws using your screwdriver. Make sure they’re snug, but don’t overtighten them.
Once everything is back in place, give your door a few gentle swings again. Listen closely—if you’ve done everything right, you should hear nothing but silence. Well, except for the sound of a perfectly functioning door!
Test for Success and Maintenance Tips
After reassembling your door, it’s time for the moment of truth. Open and close the door gently to see if the squeak is gone. If you’ve followed the steps, you should be squeak-free! If you still hear that annoying sound, you might want to consider replacing the hinges entirely.
To maintain your newly quiet hinges, here are a few quick tips:
– Lubricate regularly—every 6 months or so should do the trick.
– Keep the area around the hinges clean. Dust and dirt can sneak back in and create issues.
– If you notice rust again, address it immediately to prevent further damage.
With these maintenance tips, you can keep your doors smooth and quiet for years to come.
In conclusion, fixing a squeaky interior door hinge is a straightforward process that you can handle without needing to call a handyman. By following these easy steps and keeping up with regular maintenance, your doors will be happy to swing open and closed silently, making your home a little more peaceful. So, grab those tools and get ready to enjoy a quiet home again!
