For folks who aren’t familiar with locks, the keyed cylinder is like the heart of your lock. It’s what makes your key work and keeps your door secure. Over time, these cylinders can wear out or get damaged, requiring replacement. You might be wondering if it’s really necessary or if you should call a locksmith. Let me explain why replacing the cylinder yourself can be a smart choice—saving time and money while boosting your confidence in DIY tasks.
Understanding the Keyed Cylinder
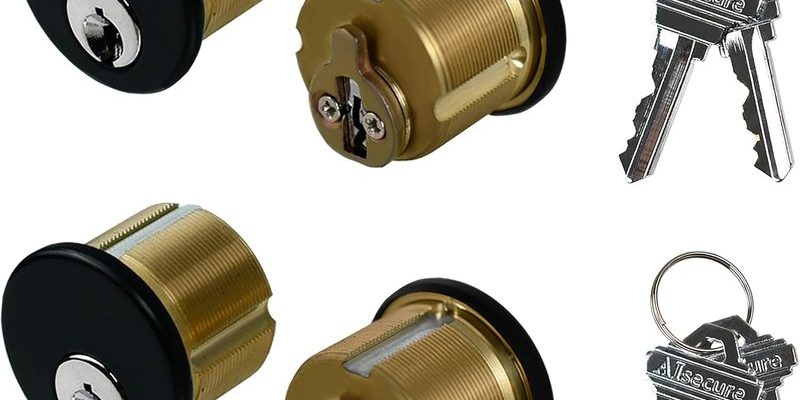
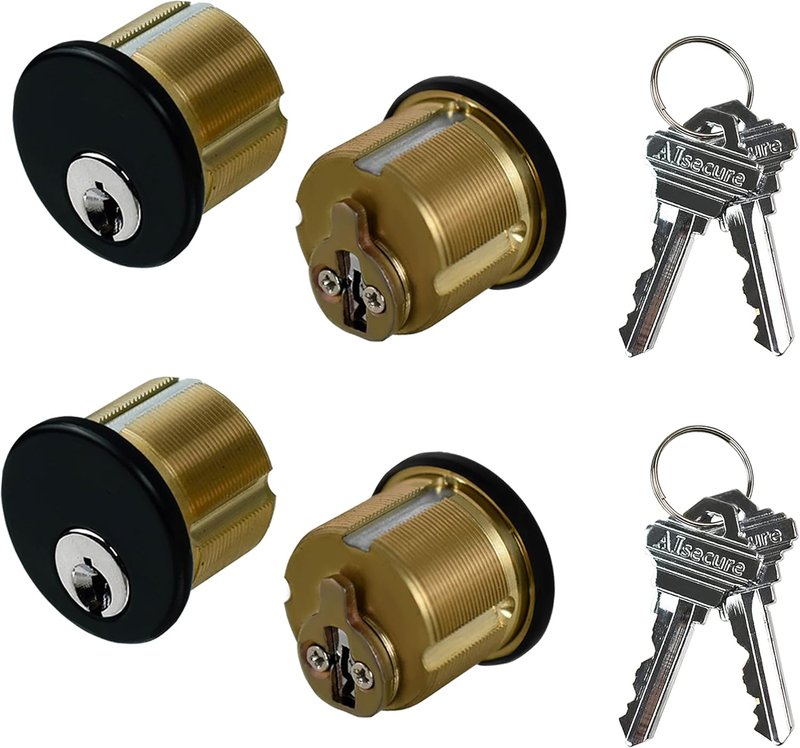
Before you leap into the replacement process, it’s essential to grasp what a keyed cylinder really is. Think of it as the lock’s entry point—where your key goes in and works its magic. In most interior door locks, this cylinder is removable, which is great news if you’re looking to replace it. Here’s a quick breakdown:
- Function: The cylinder houses the pins that disengage the lock when the correct key is inserted.
- Types: You’ll generally come across two types: single-cylinder and double-cylinder.
- Common Brands: Kwikset, Schlage, and Yale are among the most popular brands.
You might be asking yourself, “Why would I need to replace this?” Well, factors like lost keys, wear and tear, or even just wanting to upgrade your lock for better security can necessitate a replacement. Knowing the basics of the cylinder can make the process feel a lot less intimidating.
Gathering Your Tools
Now that you know what you’re dealing with, it’s time to gather your tools. The good news is that you won’t need a whole workshop for this task. Here’s a simple list of what you’ll need:
- Flathead screwdriver
- Phillips screwdriver
- Replacement keyed cylinder
- Allen wrench (if applicable)
- Lubricant (like WD-40)
Keep these tools handy, and you’ll be ready to tackle the job with ease. Having the right tools can make all the difference. Picture trying to fix your bike without a wrench—it just doesn’t work!
Removing the Old Cylinder
With your tools at the ready, let’s get into the nitty-gritty of removing that old cylinder. Here’s how to do it:
1. Unscrew the Door Handle: Start by removing the screws that hold your door handle in place. Depending on your lock model, you might see screws on the inside plate or the side of the door. Use the Phillips screwdriver for this.
2. Locate the Cylinder: Once the handle is off, look for a small set screw holding the cylinder in place. This usually requires an Allen wrench to loosen.
3. Remove the Cylinder: After loosening the screw, gently pull out the cylinder. If it’s stuck, a little twist may help release it.
4. Check for Debris: While you’re at it, take a moment to examine the area for any dust or debris. A quick clean can help ensure your new cylinder works smoothly.
It might sound straightforward, but take your time here. Rushing can lead to mistakes. And trust me, you don’t want to have to redo this.
Installing the New Keyed Cylinder
Here comes the exciting part—installing your shiny new keyed cylinder! Follow these steps to make sure it’s a success:
1. Insert the New Cylinder: Slide your new cylinder into the hole where the old one was. You should feel it fit snugly.
2. Secure the Cylinder: Use the Allen wrench to tighten the set screw you loosened earlier. Be careful not to overtighten; you want it secure but not too tight to prevent smooth operation.
3. Reattach the Door Handle: Place your door handle back on and screw it in securely. This ties everything together.
4. Test Your Work: Before you close the door, test your new lock with the key. If it slides in smoothly and turns easily, you’re on the right track.
Testing and Troubleshooting
Now that you’ve installed your new keyed cylinder, the next step is testing it to ensure everything works as it should. Here are a few tips to keep in mind:
– Turn the Key Smoothly: Insert your key and turn it a few times to make sure it operates smoothly. It shouldn’t catch or feel rough.
– Check for Misalignments: If the door doesn’t latch properly, check that everything is aligned. You might need to adjust the position of the lock or handle slightly.
– Use Lubrication: If you run into any sticking issues, a quick spray of lubricant can often fix the problem. Just don’t overdo it!
If things go haywire, don’t stress. Sometimes, minor adjustments are all it takes to get everything back on track.
Why DIY Instead of Calling a Locksmith?
You might be pondering whether to hire a locksmith instead. While it’s certainly an option, taking the DIY route comes with perks:
– Cost Savings: Hiring a locksmith can run you anywhere from $50 to $150, depending on your location. Doing it yourself? Just the price of the cylinder.
– Satisfaction: There’s something incredibly satisfying about tackling a home improvement project on your own. You’ll have a sense of accomplishment at the end.
– Learning Experience: Each time you work on a project like this, you gain valuable skills for future tasks. Who knows what else you might tackle down the road?
If you feel nervous, start with a less critical door. You’ll be amazed at how quickly you can build up your confidence.
Replacing the keyed cylinder on an interior door lock is not just a task for professionals. It’s a project that you can handle yourself with a bit of patience and the right tools. By understanding what a keyed cylinder is and how to replace it, you’re empowering yourself to improve your home security effectively.
As you wrap up, remember that every project you tackle helps you grow your skills. Whether you’re fixing a lock or working on another home improvement, each job adds to your toolbox. So go ahead, give it a try. You’ve got this!