Honestly, fixing a busted handleset lever is easier than it sounds. You don’t need a locksmith’s toolkit or a black belt in DIY. With a little know-how—and maybe a Phillips screwdriver—you can confidently replace your entry door handleset lever, even if you’re a total beginner. I’ll walk you through each step, with tips on what to look out for, how to troubleshoot annoying issues, and what to do if your specific lever has a weird code or battery system (yep, some new models are smart!). Let’s roll up our sleeves.
Why Entry Door Handleset Levers Get Damaged
You might be wondering, “Why do these things break in the first place?” Handleset levers take a lot of abuse. We’re talking slamming, yanking, and all sorts of rough handling—especially if you have kids, pets, or just busy hands juggling groceries and bags. Over time, the internal code (if it’s a smart lock), or even just the simple mechanical parts, can wear down or come loose.
Sometimes, it’s about the weather. Metal handles expand and contract in heat and cold, so if you’ve got a drafty door or live somewhere with wild temperature swings, don’t be surprised if your lever starts to wiggle or sticks. Another common culprit: poor installation. If the original handleset wasn’t installed right, or if the screws weren’t tightened properly, the lever can fail years ahead of schedule.
And then, of course, batteries. If you have a keypad or smart entry door set, dead or corroded batteries can make the lever unresponsive. In some cases, you might even need to reset or sync the lock system after you replace the lever—something most manuals don’t mention until you hit a snag. Knowing why levers break helps you spot issues before they become door emergencies.
Choosing the Right Replacement Handleset Lever
Before you dash off to Home Depot or hop online, it helps to know exactly which lever you need. Entry door handleset levers come in all shapes and finishes, but matching your brand—like Schlage, Kwikset, or Yale—is usually best. Universal levers exist, but honestly, they can be hit or miss, especially if your lock has a unique code, smart features, or a special battery compartment.
Start by checking your current handleset for a brand name or model number. Sometimes it’s printed on the latch plate or inside the escutcheon (that’s the fancy term for the backplate). If you’re dealing with a smart handleset, take note of any codes you’ll need to pair or sync your replacement lever with the existing lock.
Here’s a quick breakdown of what to look for:
- Compatibility: Make sure the new lever matches your door’s thickness and backset (the distance from the edge of the door to the center of the handle).
- Finish: Brass, nickel, bronze, or black—matching your existing hardware keeps everything looking sharp.
- Smart features: If your entry door uses a digital keypad or has remote capabilities, double-check the replacement lever supports these so you don’t lose access or security features.
Take a clear picture of your old set to compare parts—trust me, it saves frustration later.
Gathering Tools and Prepping for Handleset Lever Replacement
Here’s the thing—replacing an entry door handleset lever doesn’t demand a toolbox worthy of a construction site. Most of the time, you’ll need just a Phillips screwdriver, a flathead screwdriver (for prying off covers), and maybe a hex wrench if your set uses Allen screws. If you’re working with a smart lock, keep a fresh set of batteries nearby, since some systems require a power reset after you swap parts.
Strong lighting helps, too, especially with small screws that roll away at the worst possible moment. Lay out a towel or mat under your workspace so fallen hardware doesn’t vanish into the void (or under the porch). Got a stubborn lever or a stuck screw? A few drops of household oil can loosen things up, but don’t go overboard—you don’t want slippery hands mid-repair.
Safety first: If your handleset connects to a smart system, play it safe and remove the battery or disconnect power before you dig in. This prevents accidental lockouts, resets, or sync problems that could leave you staring at a locked door from the outside. It’s a tiny step, but one you’ll thank yourself for.
Step-by-Step: Removing the Damaged Entry Door Handleset Lever
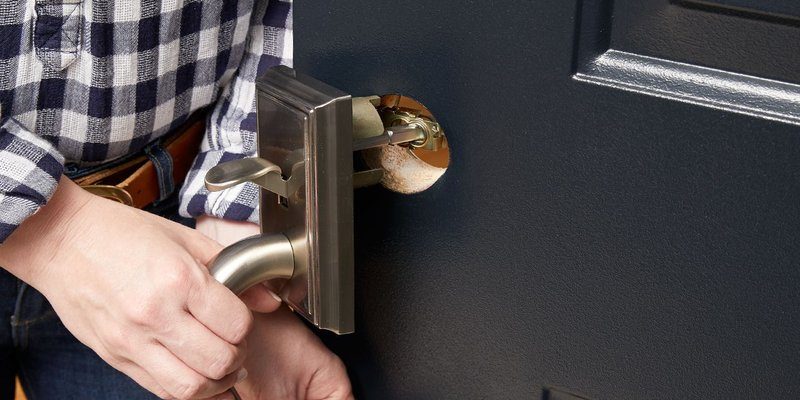
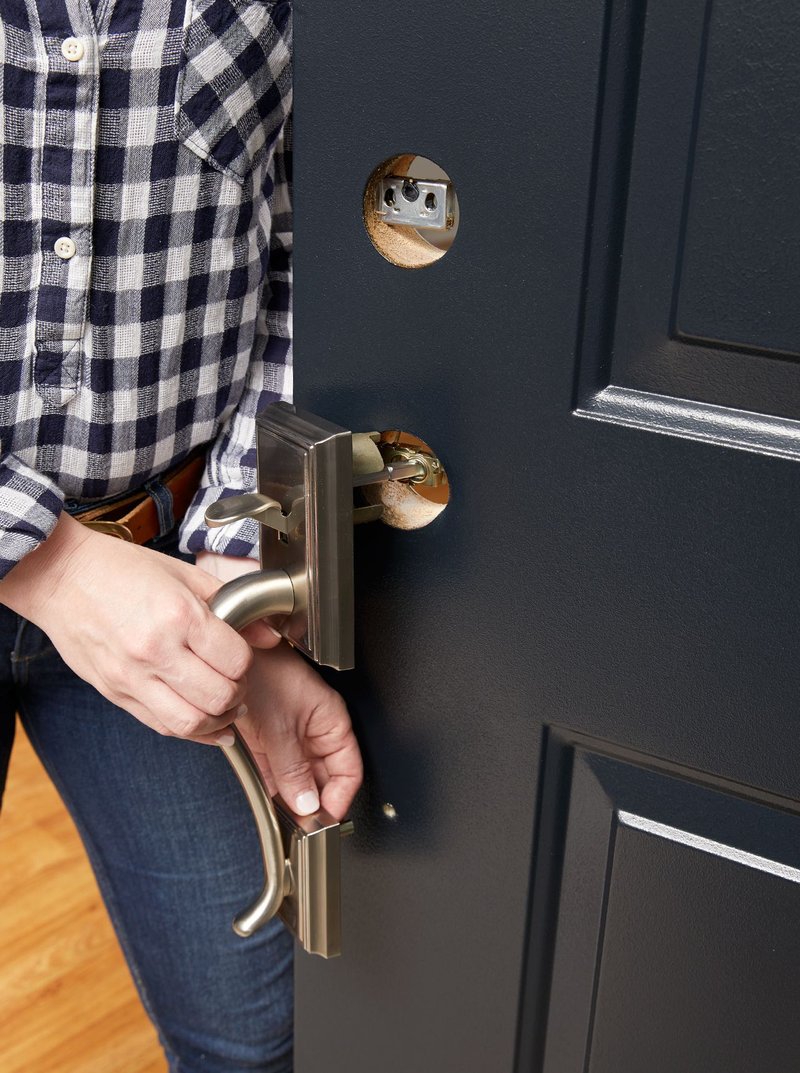
Let me explain how to get the old lever off—slowly, so you see each part. Start by opening your door wide enough to access both sides. Most handleset levers are held with two screws on the interior side. They may hide under a decorative plate; if so, gently pry off the plate with a flathead screwdriver.
- Unscrew the mounting hardware using a Phillips screwdriver. Set the screws aside somewhere safe.
- Remove the interior lever. It should slide right off once the screws are out. If it feels stuck, wiggle gently—old paint or grime can make it stubborn.
- Remove the exterior lever. Some models require an extra screw or latch release to free the outside handle. Be patient; forcing it may bend or scratch the finish.
If you’re working with a smart handleset, you might spot a tiny reset button or a battery case—don’t mess with those just yet. For now, focus on getting the mechanical lever off cleanly. You might be surprised by how simple it all looks inside—no secret codes or booby traps, I promise.
Installing the New Entry Door Handleset Lever
Now for the fun part: putting in the shiny new lever. Here’s a stress-saving tip—compare your new and old handleset levers before you begin. Lining up the pieces will make the next steps feel much less mysterious.
- Align the exterior lever with the existing holes in your door.
- Press the lever into place and hold it while you attach the interior mechanism.
- Insert the mounting screws from inside, tightening them until the lever feels solid, but don’t overdo it. Overtightening can strip the screws or pinch moving parts.
- If your model includes a decorative plate, snap or screw it into place to cover the hardware.
For smart entry door handlesets, now’s the time to replace the battery if it was removed earlier. If your new lever has to be paired, synced, or reset with a code, follow the manufacturer’s instructions closely—a wrong move might trigger an annoying beeping or lockout.
Proper alignment is key. If the lever feels stiff or doesn’t spring back, loosen the screws, adjust the fit, and try again. A little patience here prevents later headaches.
Troubleshooting Common Issues After Replacement
Okay, so you’ve installed the new lever, but maybe you’re running into problems. This can be super frustrating, but most issues have quick fixes. If your entry door handleset lever feels loose, it’s usually a sign the mounting screws aren’t tight enough or the mechanism isn’t hooked up right. Double-check the alignment of both sides and retighten as needed.
With smart or keyless handlesets—think brands like Schlage or Kwikset—a dead lever often means the battery is dead or not seated properly. Always use fresh batteries and make sure the terminals are clean. If there’s a code or pairing process, you might need to reset or sync the smart lock. Follow the steps in your manual, and don’t forget to re-enter your access codes after a reset.
Other possible headaches and solutions:
- Lever sticks: Check for paint buildup, debris, or a misaligned latch. Remove and reinstall if needed.
- No response from smart lever: Try a hard reset or re-pair with the app/remote. Sometimes, a quick battery pull will do the trick.
- Key won’t turn: Spritz a little graphite lubricant in the cylinder (avoid oil), and gently work the key back and forth.
Remember, even if things don’t go perfectly the first time, most handleset lever issues can be fixed without calling a pro. Stay calm, and trust the process.
Comparing Universal vs. Brand-Specific Replacement Levers
You might be tempted to grab the cheapest or most universal handleset lever you can find, but here’s why it pays to be a little picky. Brand-specific levers—like those from Schlage, Yale, or Kwikset—are designed to fit your existing lock perfectly. The codes, battery housings, and reset buttons line up just right, so you avoid weird gaps or wobbles.
Universal levers promise to fit lots of doors, and sometimes they do, but not always well. They can be a hassle if your entry door handleset has a unique mounting plate, a special smart code system, or a built-in battery compartment. Some “universal” options require you to drill new holes or make odd adjustments. That’s extra work and a recipe for frustration—especially if you value a clean look and a tight fit.
If your handleset lever is purely mechanical and your door isn’t fancy, a universal lever might do the job in a pinch. But for most people, spending a few extra bucks for a matching brand lever saves headaches down the road—and keeps your entryway looking sharp. Plus, you avoid warranty issues or compatibility problems if you ever need to troubleshoot or reset the lock.
Maintaining Your New Entry Door Handleset Lever
Once your new handleset lever is in place, show it a little love to keep it working smoothly. A quick wipe-down with a damp cloth every few weeks keeps dust and grime from building up around the moving parts. Don’t use abrasive cleaners—just a little mild soap or water is plenty. If the lever starts to squeak or feels stiff, a drop of lubricant (made for locks, not WD-40) in the latch does wonders.
For smart levers, check the battery every few months, especially if you live somewhere cold. Low batteries can cause syncing problems, random resets, or code errors that leave you locked out. Most brands have an indicator light or an app to warn you when power gets low. If your lock uses codes, re-sync with your app or remote after any big battery or hardware changes, just to be safe.
A yearly checkup helps too. Tighten any loose screws, check the fit of the latch, and test the lever a few times from both sides of the door. This routine keeps everything secure—and lets you spot small issues before they turn into big repair jobs.
Wrapping Up: Why Replacing a Handleset Lever Is Worth It
Replacing a damaged entry door handleset lever might feel intimidating at first, but it’s really just a series of easy, careful steps. Whether you’re swapping out a tired old Schlage lever, fixing a stuck Kwikset, or just giving your entryway a little refresh, the process puts you in charge of your home’s security and style. There’s a certain satisfaction in grabbing your front door handle and knowing it’s sturdy, reliable, and exactly the way you want it.
If you run into trouble, take a deep breath and go back through the steps. Most problems are simpler than they seem—and a little patience goes a long way. With the right replacement lever, basic tools, and a steady hand, you’ll have your entry door working like new again—no locksmith needed. And that’s one less thing between you and the comfort of home.